


Copyright © 2007 Barrie Brewer, Nikon D50/18-200VR, 1/5s shutter, f4.8
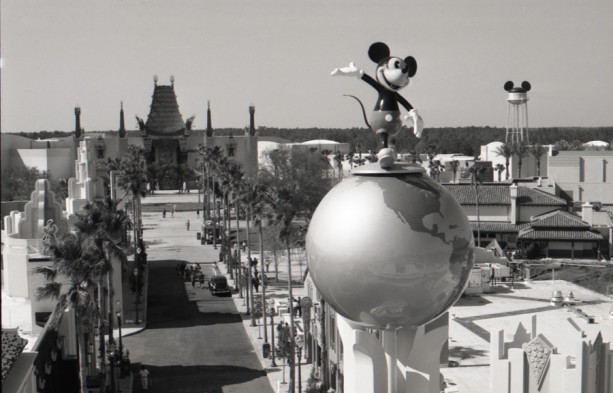
Using objects in the foreground of your shot to frame your subject is a good way to focus attention where you want it and add depth to your photo. While in the Magic Kingdom, I used the arched doorway of Cinderella’s castle to frame the passageway and the carrousel behind the castle.
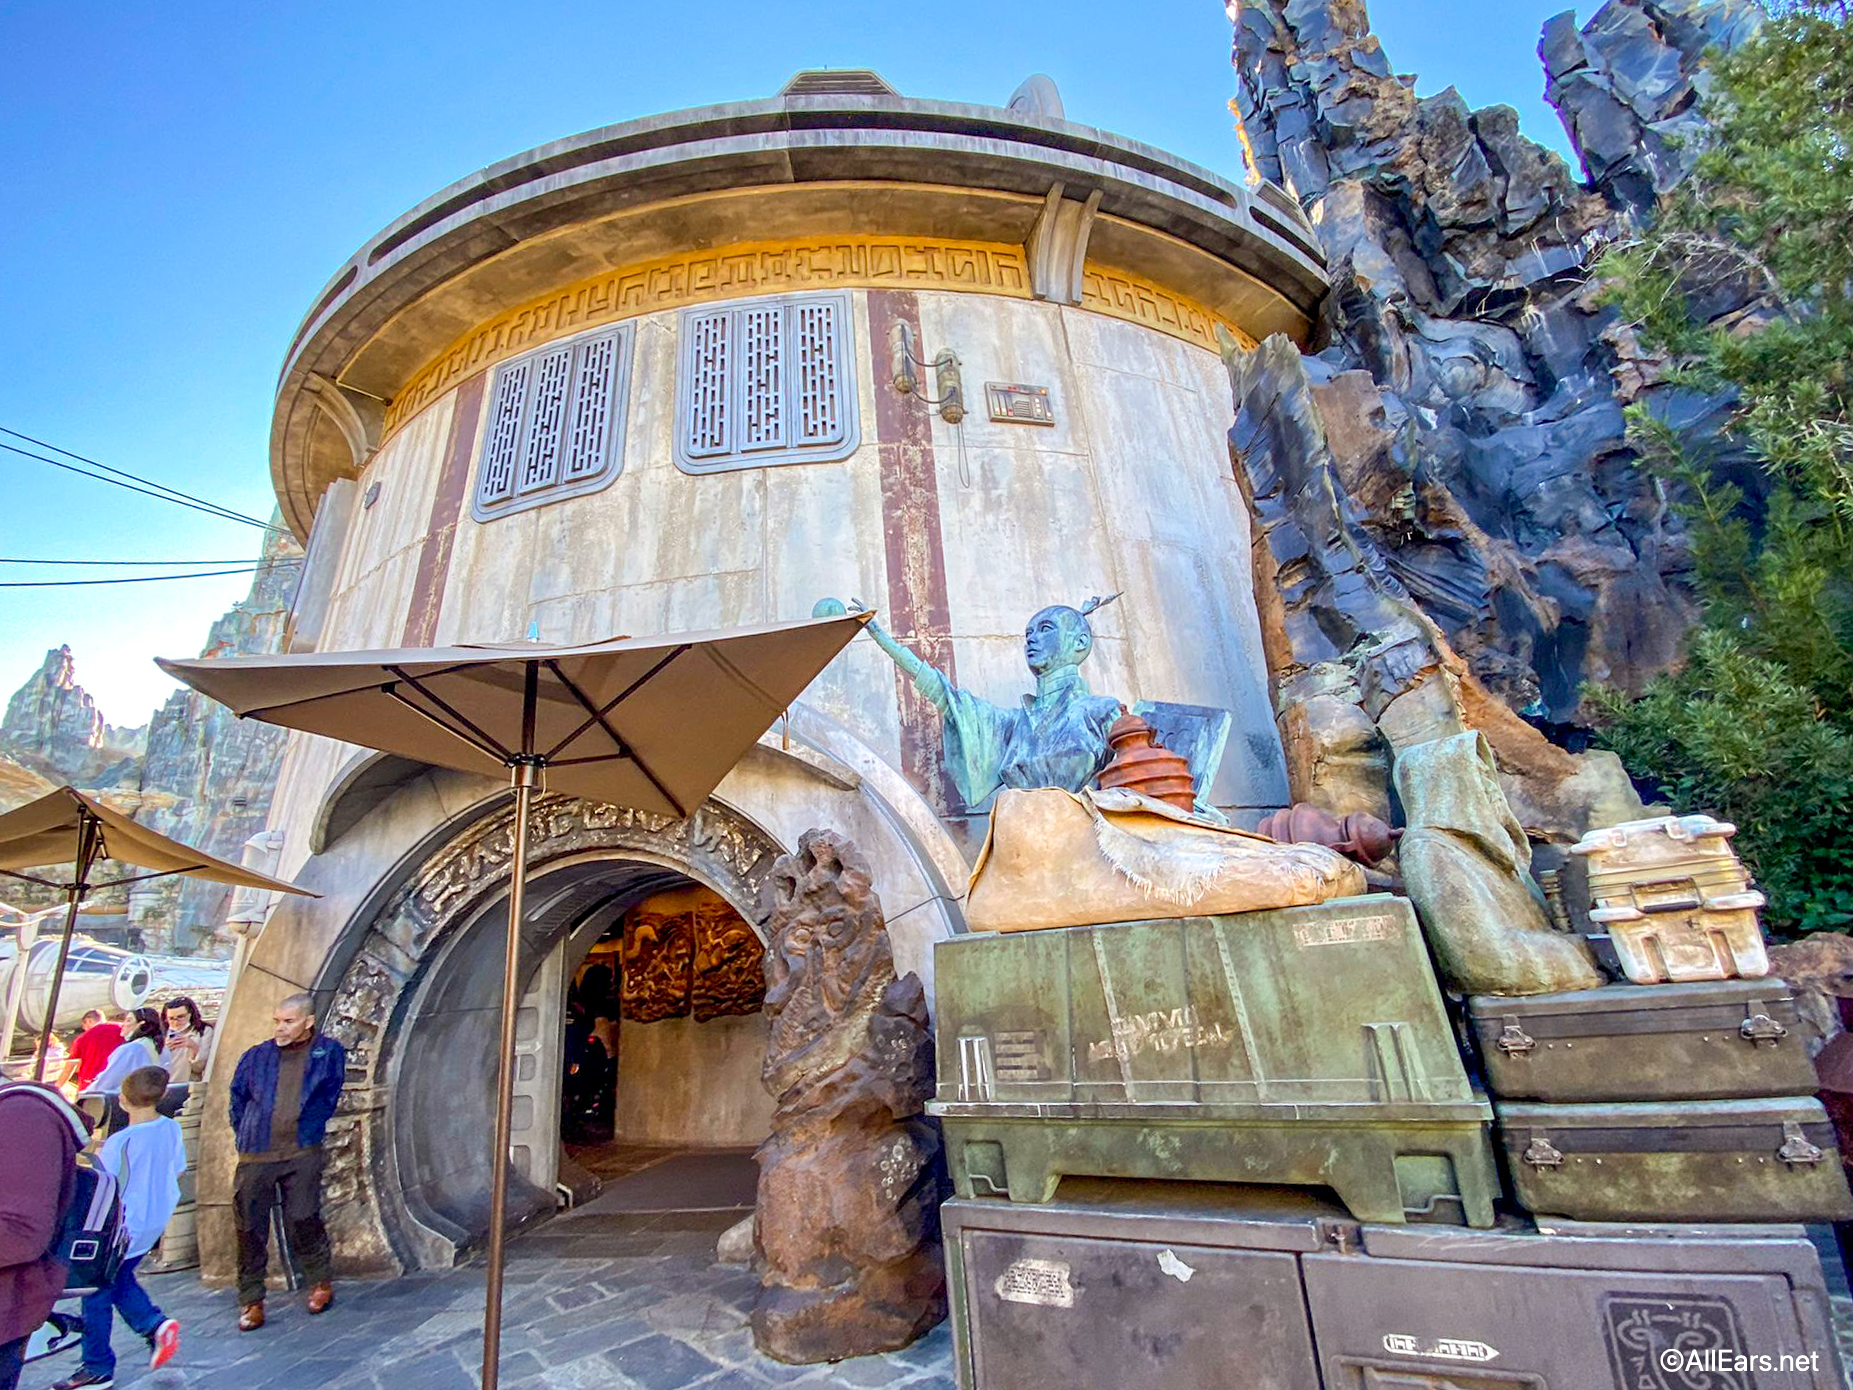
A frame can help give context to your photo. A desert view framed by a rock formation really gives you a sense of place. A frame leads the viewer’s eye into the photo and may even encourage the viewer to look at it longer. You are limited only by your imagination when choosing a framing element. Here are some framing ideas to get you started.
“¢ Architectural elements such as archways, doorways, windows, a hole in a wall, bridges and tunnels make great framing elements.
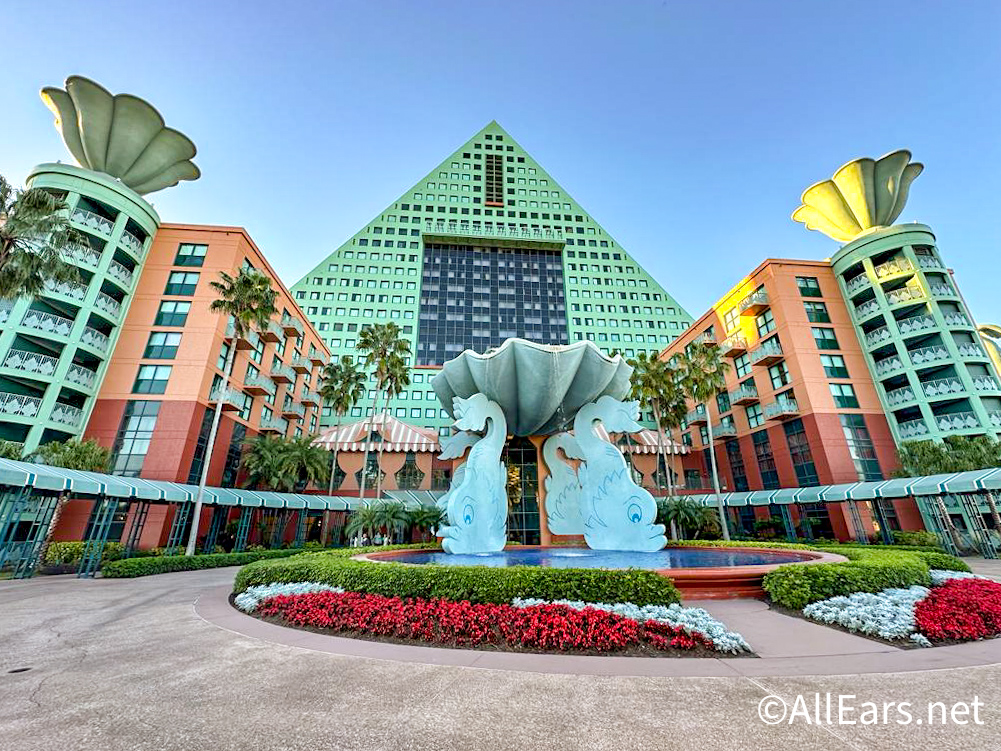
“¢ Natural elements like rock formations, a gap in dense foliage or between trees, the overhanging branches of a tree, and even people can be used to frame your subject. For example, you can shoot over people’s shoulders or between their heads. There are plenty of opportunities for this at Disney World! You can even use shadows to frame your subject.
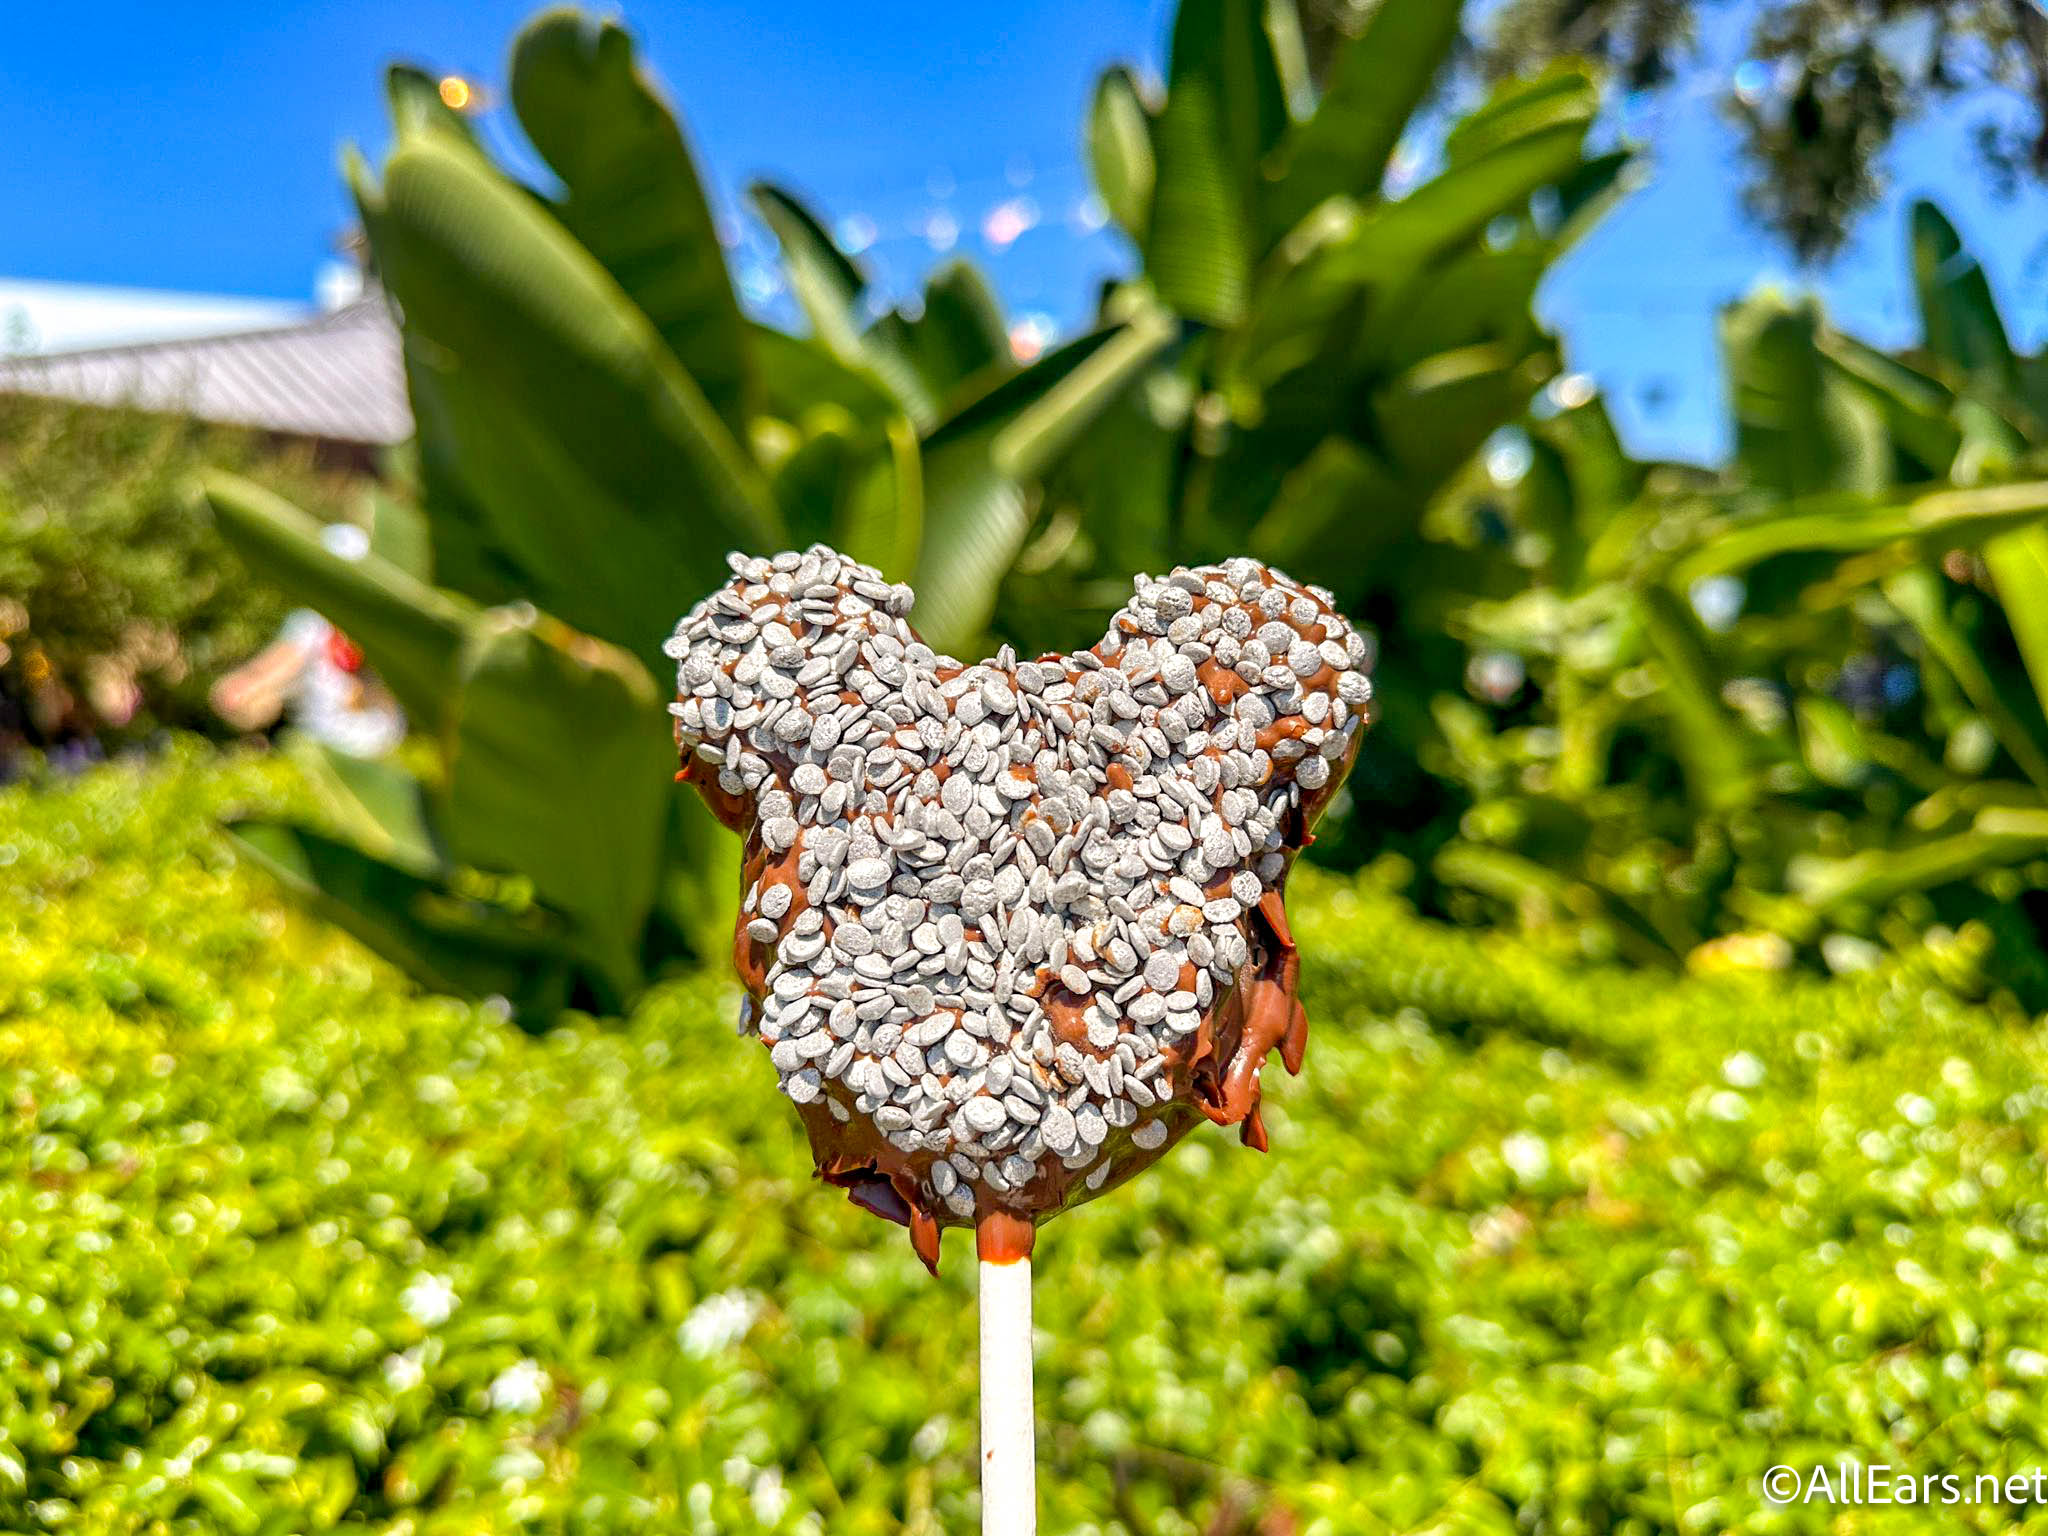
“¢ The absence of objects, for instance a bare wall, can frame your subject by isolating it. This is what photographers do when they use a backdrop. Another way to isolate your subject is to use a very shallow depth of field to blur the background, creating a frame that will surround your subject.
“¢ Patterns are often used as framing devices. Imagine the shelves in the World of Disney filled with stuffed Pooh bears. Now imagine one pink Piglet in the center of all that orange. That’s a frame.
Your frame can go completely around your subject or it might just be on one or two edges of your shot. It can be close to the edge of your photo or protrude pretty far into it, even taking up most of the space in it. The key is to keep in mind is that you are trying to focus the viewer’s attention on your subject. You don’t want your frame to overshadow the subject but in the same instance, you don’t want a wimpy frame that just ends up being a distraction. A good practice is to ask yourself if the frame will add to the photo or take away from it before you click your shutter. Experiment and see what you like.


Trending Now
An iconic EPCOT ride got a bit of a refresh recently!
If you're a Disney Visa Cardmember, this is a Disney World discount you can't miss...
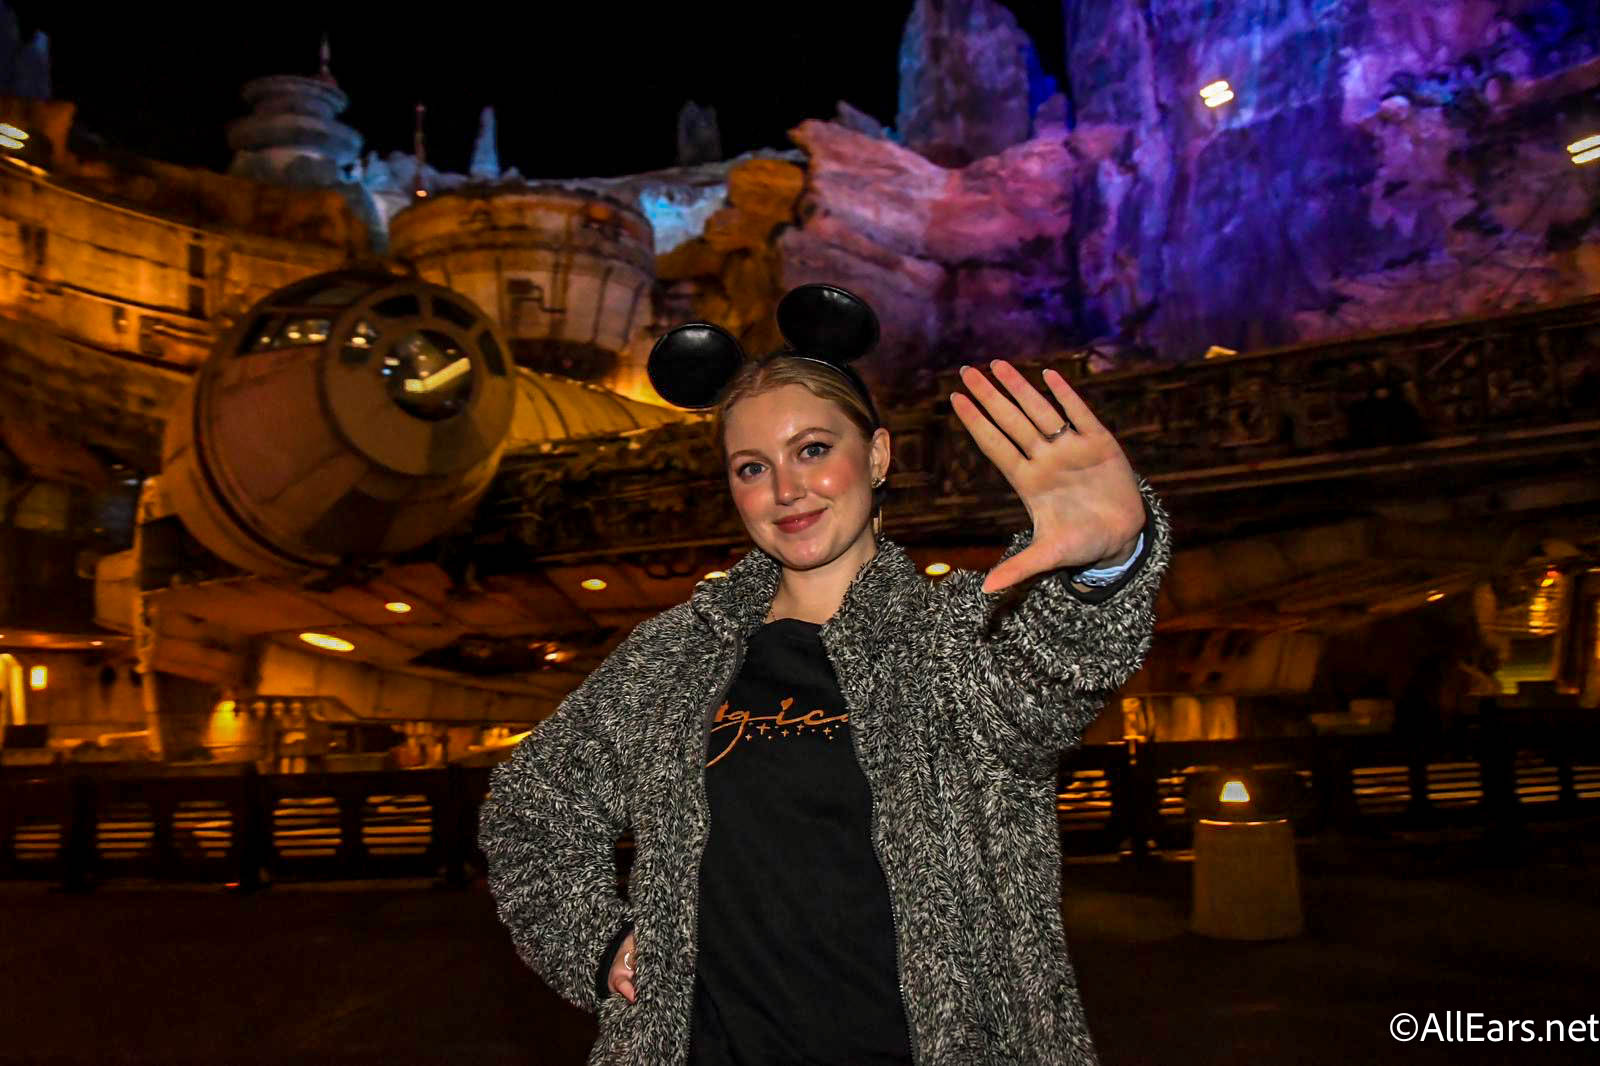
We found your perfect Hollywood Studios tee.
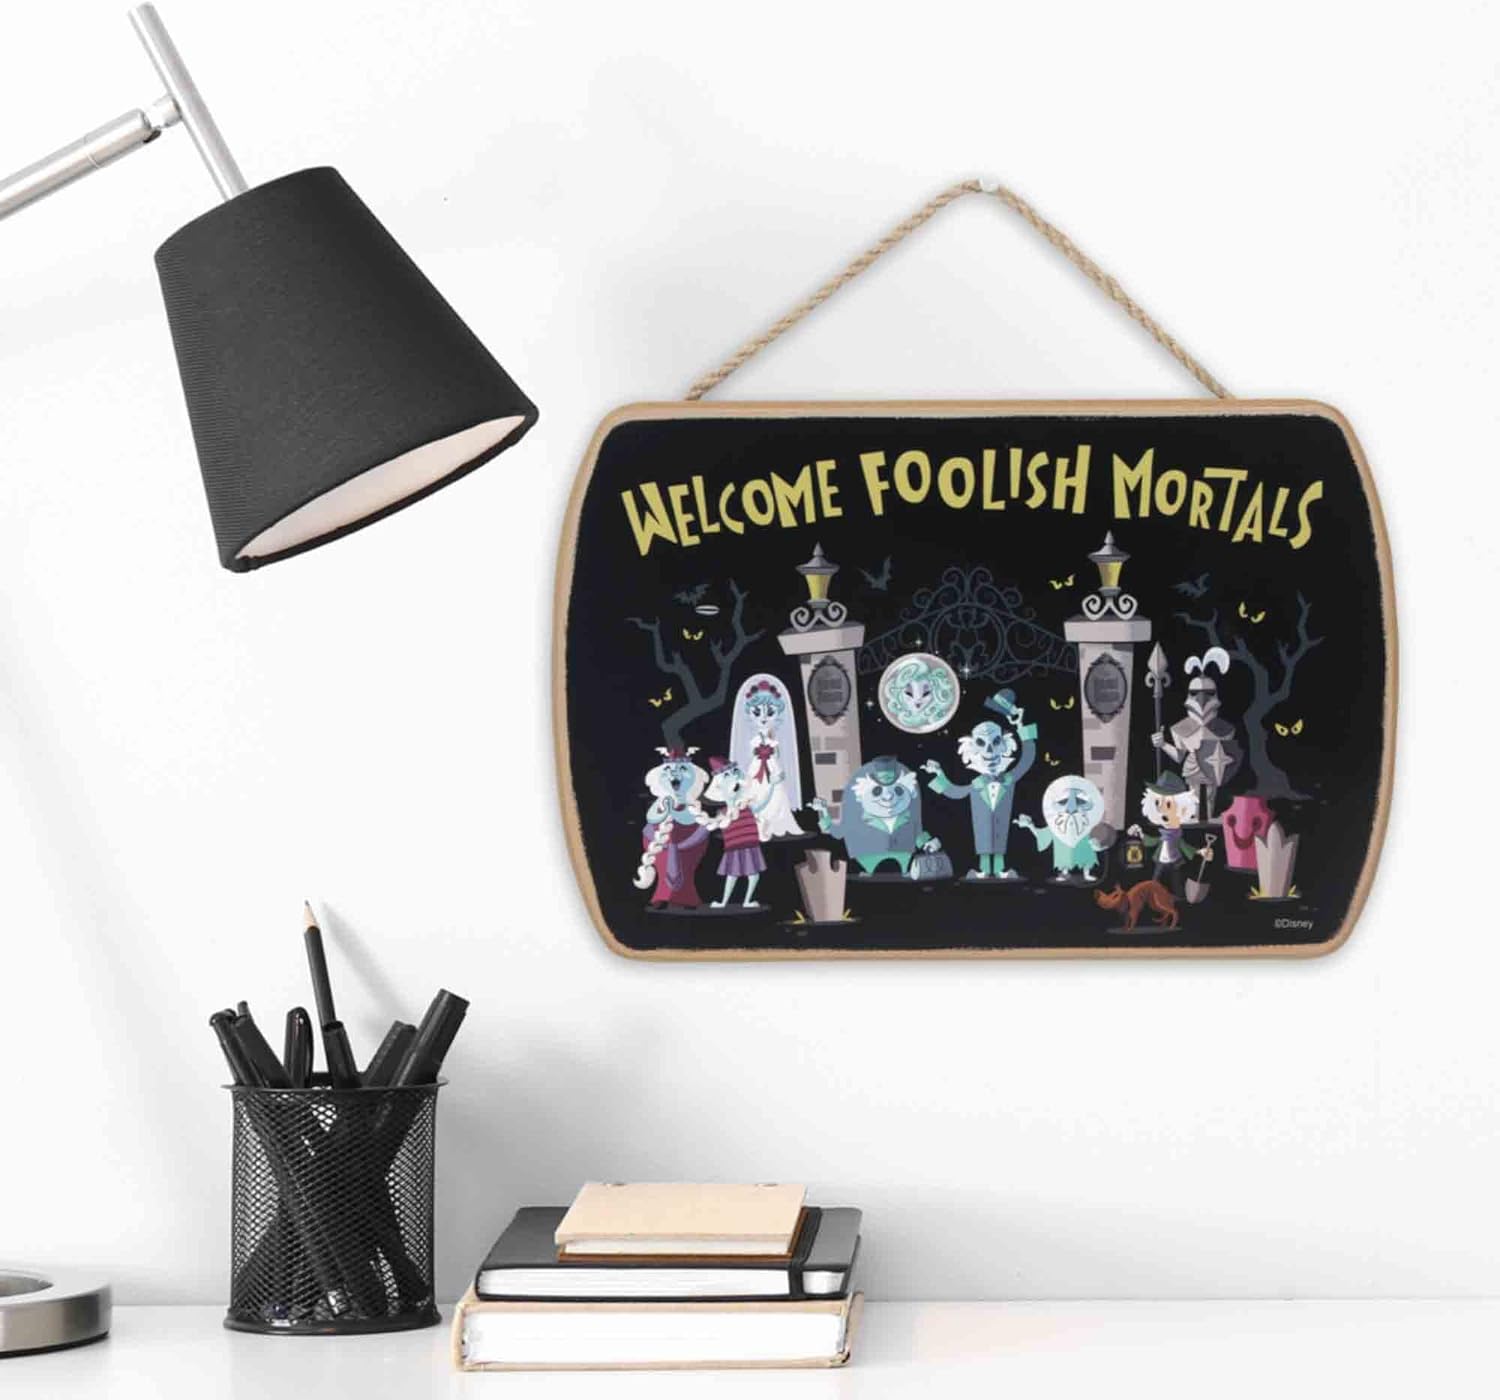
Here are some Disney household items on sale right now from Amazon!
We're a little surprised that these ride trends haven't changed in Disney World yet!
One of Disney World's parks is about to celebrate a NEW milestone soon and they're...
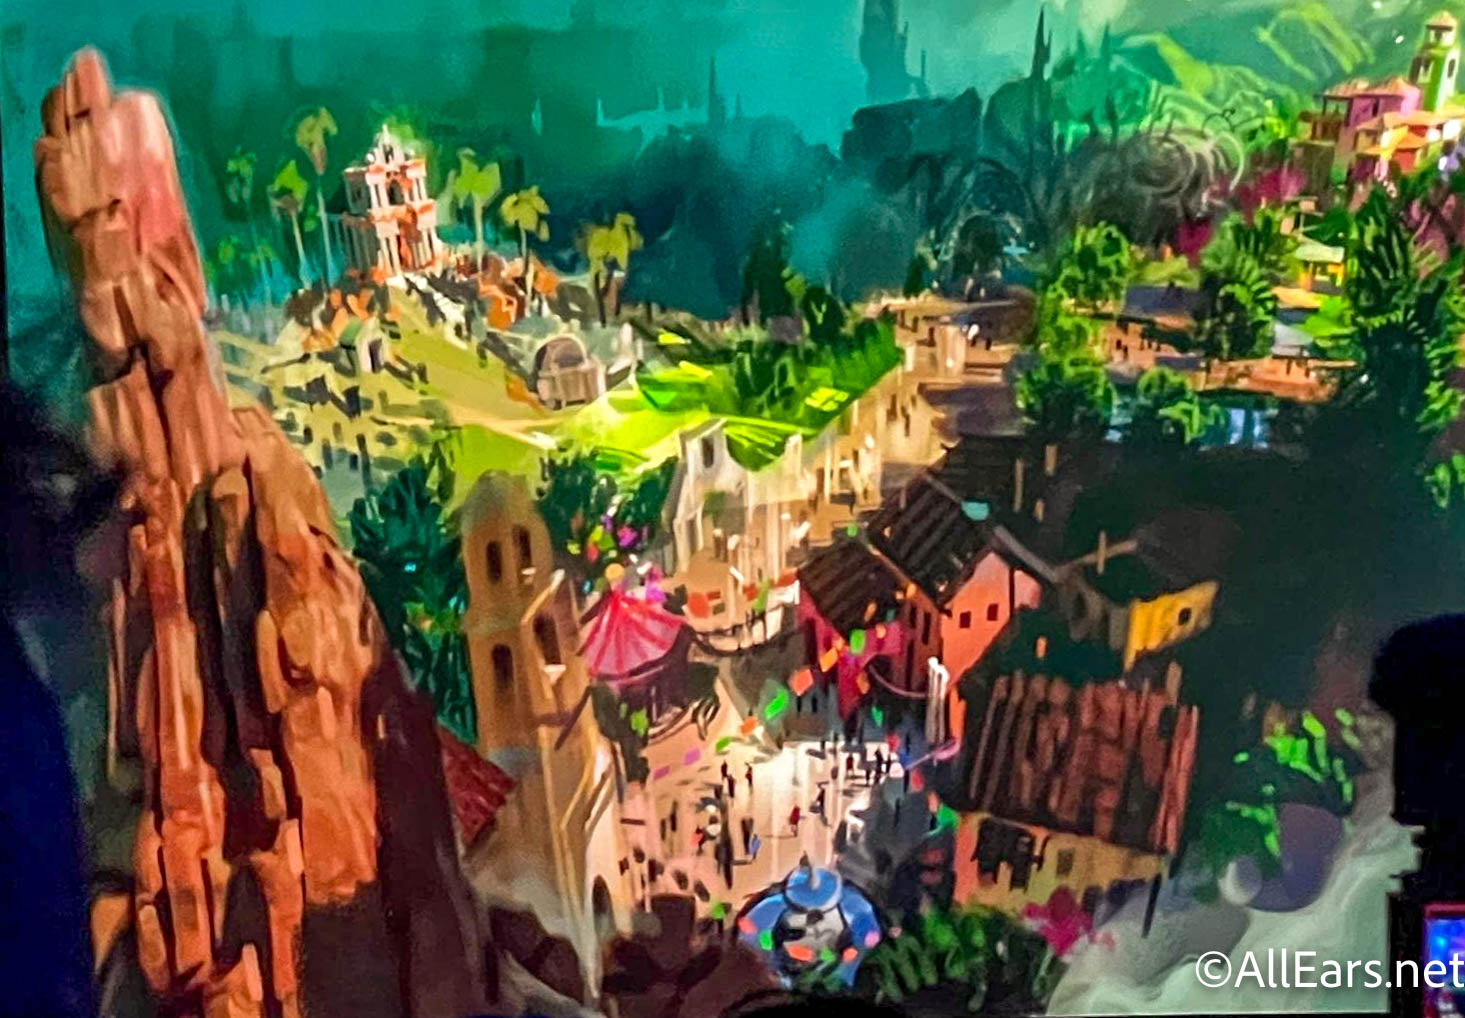
We're digging into Disney World's Magic Kingdom expansion plans!
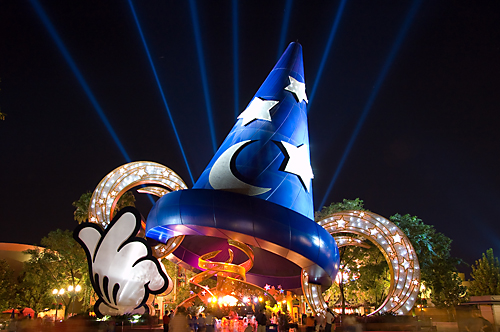
What's become of Hollywood Studios' opening day attractions?
From time to time, rides and attractions are taken out of production temporarily for various...
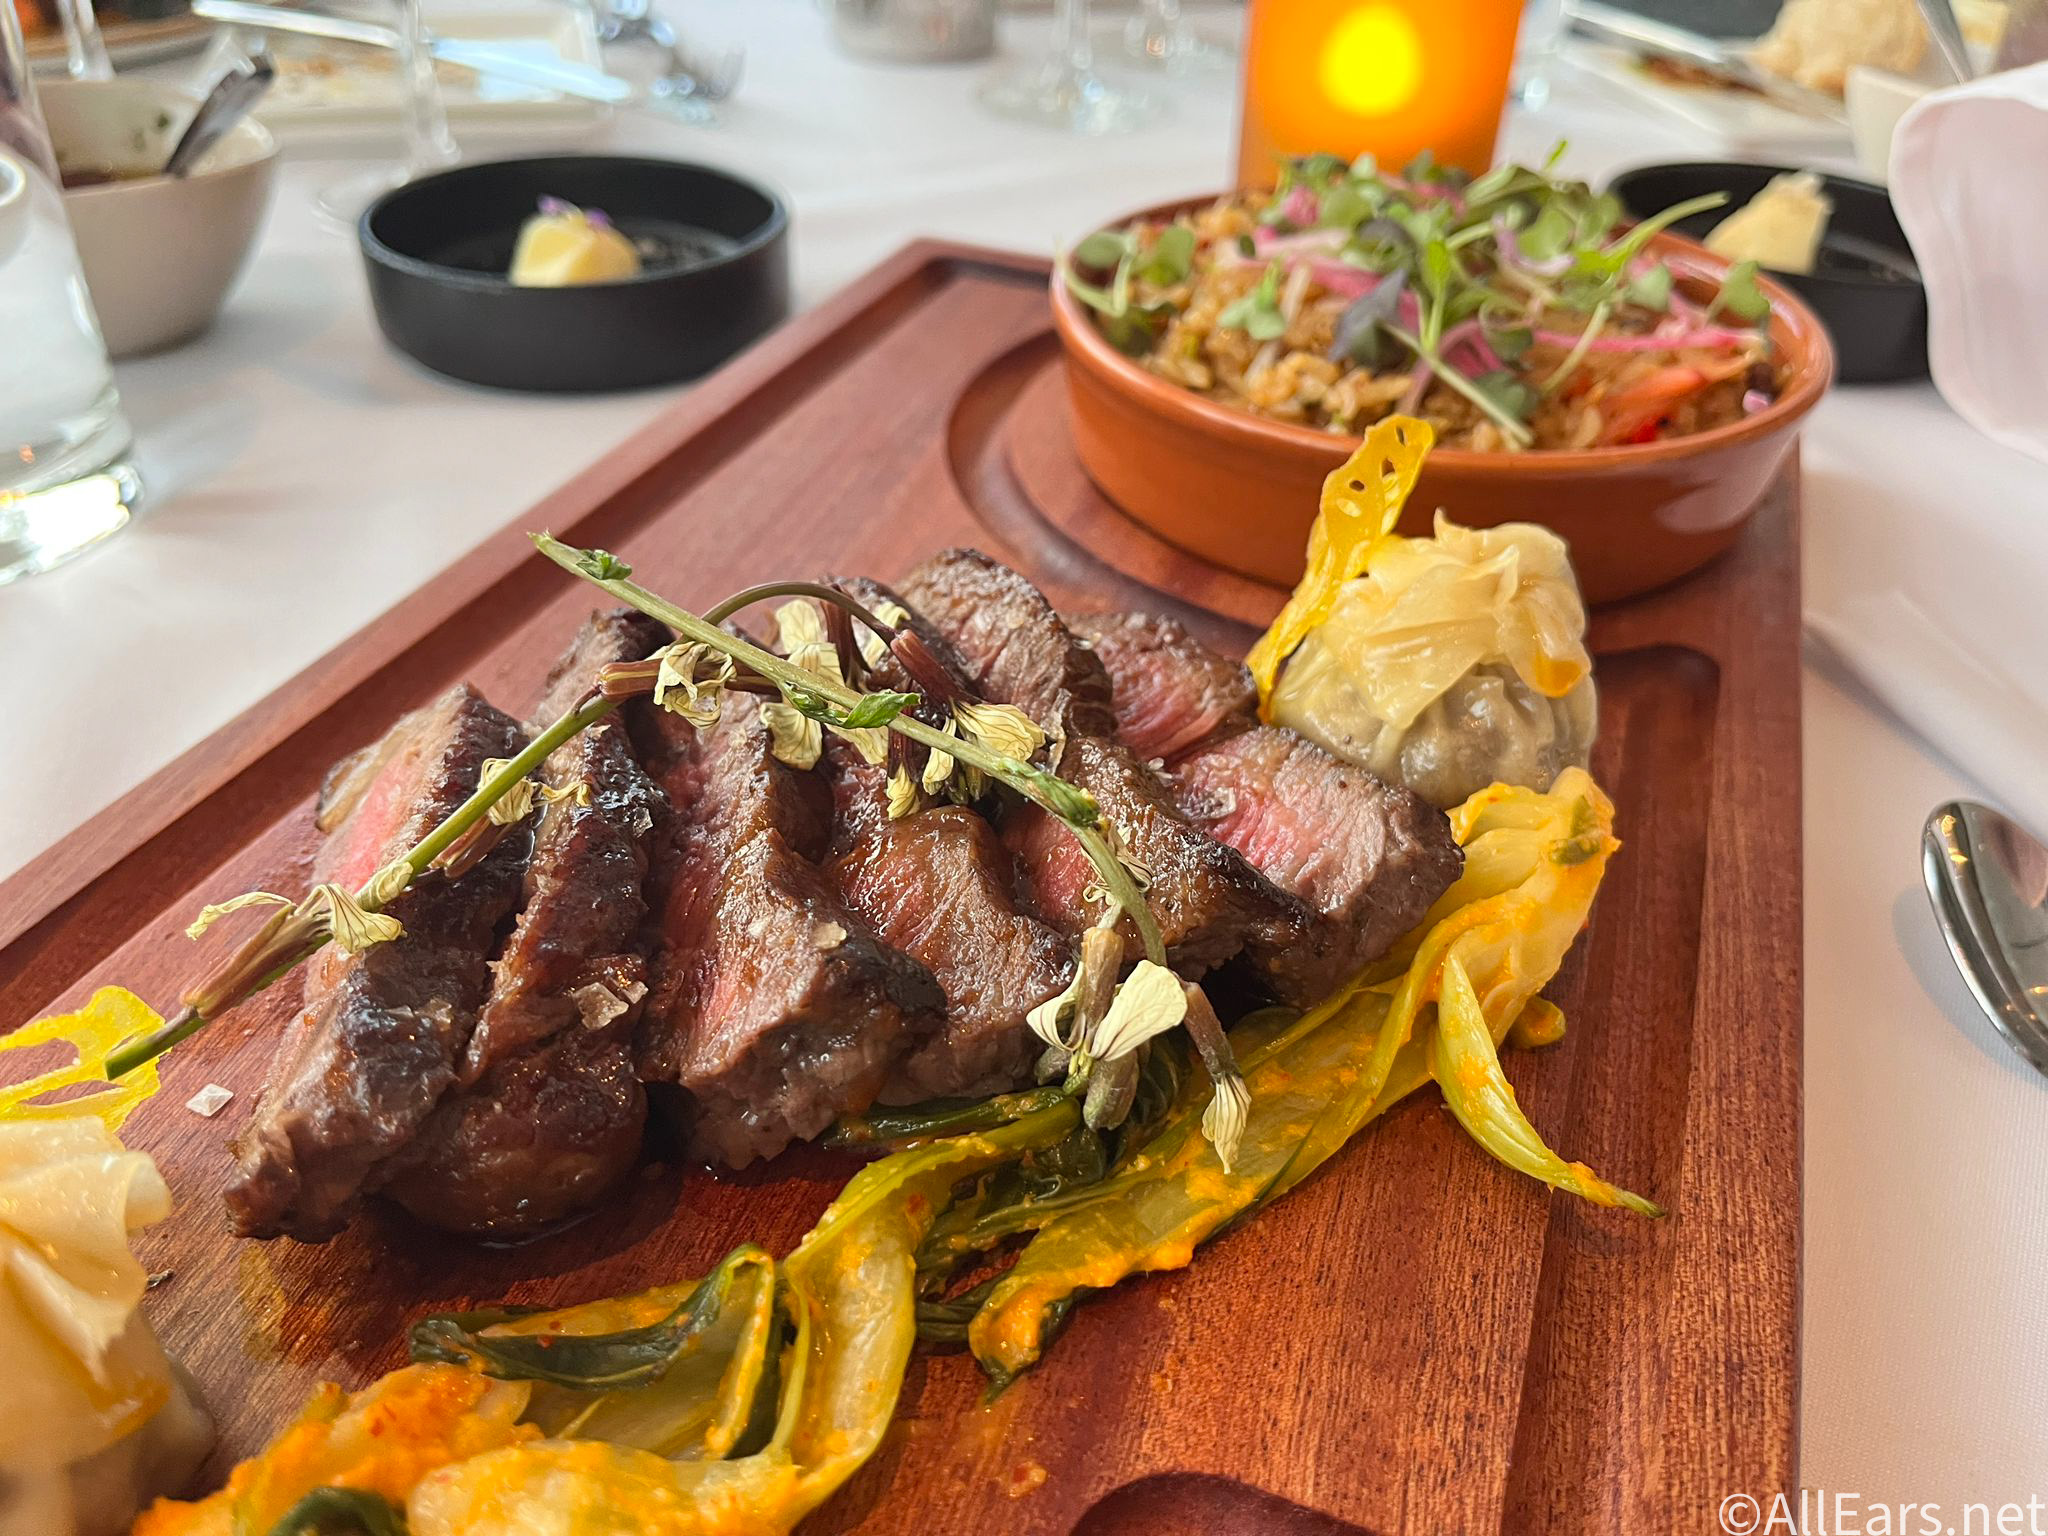
We are checking out seven fancy restaurants that are hidden in Disney World hotels!
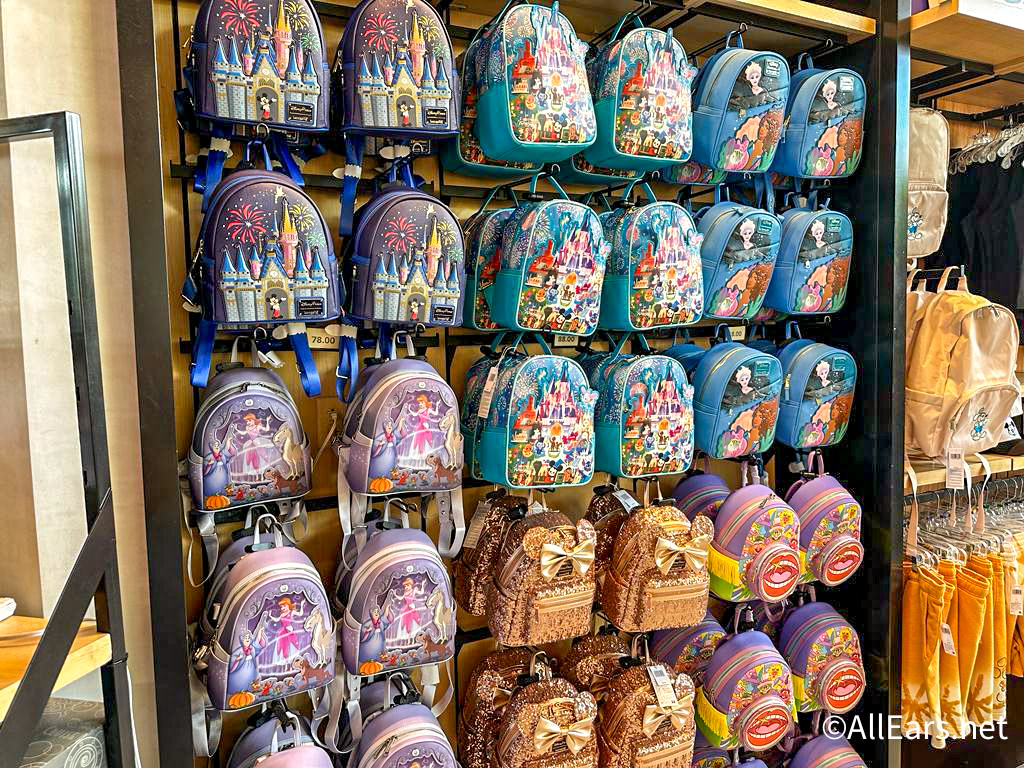
It's Gemini season, and for all our Geminis, here are some Loungefly bags that are...
The way guests pay for Savi's Workshop and Droid Depot is changing!
Fill in the missing words to find out how well you know the Pirates of...
We can't believe people STILL think these bizarre things about Disney World are true!
Wondering which of Disney World's new restaurants to eat at? We can help!
Let's talk about some Criminally Underrated EPCOT hotels!
One Disney World park is about to celebrate a big milestone!
We asked our readers to share which Disney World restaurants they have beef with and...
Whatever you do, DON'T make this Disney World ride mistake!
The dates for EPCOT's Food & Wine Festival are HERE!