

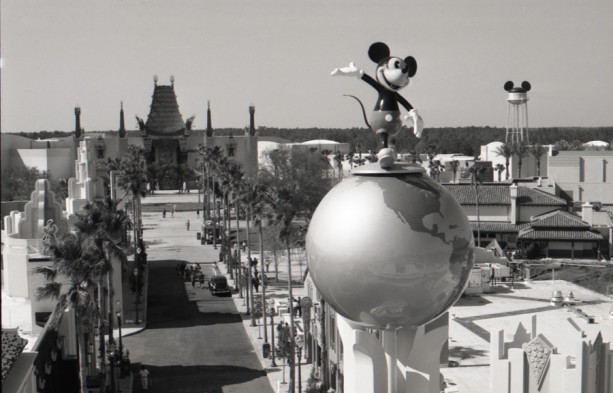
Running applications on the Internet has come a long way since portals like Yahoo and Google introduced Online Email. Now you can run spreadsheets and word processors as well as figure out when you can call for your Advanced Dining Reservations at Walt Disney World.
NOTE: Since the publication of this post, Picnik has been shut down. Today (April 29, 2014), I would recommend this online photo editor: iPiccy.
Just recently, a new online photo editor was officially launched called Picnik which lets you do many general edits to your photos as well as add special effects, shapes, text and frames. Picnik has two versions. A Basic version which is free to use and a Premium version for $24.95 annually. Picnik currently interfaces with some of the more popular photo sharing websites such as Flickr, Picasa Web Albums, Photobucket, Webshots and even Facebook. You’ll find links on the Photo Tab of Picnik for more information on how to use photos from those sites.
 Before Editing. © Scott Thomas Photography 2007 |
 After Editing. © Scott Thomas Photography 2007 |
|---|---|
| Nikon D70/18-200VR, 1/80s, f/11, 400 ISO, -0.3 EV | |
I wanted to see just how good such an application might be so I created a free Picnik account and got started. Since this is an Internet application, it doesn’t matter whether you are using a Windows, Linux or Mac operating system. As long as your browser supports Picnik, you’ll be fine. I had no trouble using Picnik in Internet Explorer or Safari. If you don’t use any of the services Picnik interfaces with, you can do what I do and upload a photo directly from your computer. You can only work on one photo at a time.
For our example, I choose a photo I took of Disney Hollywood Studio’s Beauty and the Beast Stage Show where I had the wrong white balance setting causing a very reddish cast to the actor’s faces. Picnik has tabs across the top for Home, Photos, Edit, Create and Save & Share (see screen shot below). The Edit tab is where you start to improve your images. You can Rotate, Crop, Resize, and even fix Red-Eye. You’ll find adjustment tools for Exposure, Color and Sharpen on this tab, too.
To fix my image, I started with the Exposure tool. To enter any of the tools, just click on the corresponding button. In Exposure you can add or subtract exposure and contrast using sliders. An Advanced tool is also available which shows a Histogram and adds sliders for Highlights and Shadows. In this case, I added a little exposure to lighten up the photograph. This is a good place to note that all your editing is done on the entire image. You don’t have a way to selectively edit like you would in Photoshop and other similar PC based photo editing applications.

Picnik Application (click for larger image)
The major fix I needed for this example was for color. Under the Color tab, you have Auto Color, Neutral Picker and sliders for Saturation and Color Temperature. Knowing the white balance was my main concern, I slid the color temperature slider to the left which adjusts the color cast towards the blue end of the spectrum. I had to slide it a long ways and ended up at a -65. It looked good but not quite good enough. I hit the Reset button to start over. This time I used the Auto Color button and while it looked a bit washed out at a setting of -84, the skin tones were much better. All the tools in Picnik have a Reset button. In that if you find what you are doing gets a bit odd looking, it’s easy to start over. Clicking the OK button, retains the edits. I added a little sharpening in the Sharpen tool, too.
Now the fun begins. While I liked the photo, it needed “something”. I entered the Create tab of the Picnik application and started trying various effects. After adjusting the color temperature earlier, I noted the photo looked a bit washed out. Using the Boost tool, I added some color back in adjusting the slider to 5 percent. This brought back a little redness to the faces but it looked more natural. I found I liked the look of adding a Matte around the subjects. You can control the size, strength and color of the matte effect. I emphasized the golden color of Belle’s dress and the Prince’s suit trim this way. Next, I went to the Shapes tool and added the heart shape. I changed the heart’s location, size, color and fading before adding the text in the Text tool.
Once I was satisfied with everything, I went to the Save & Share tab and saved the new image back to my computer’s hard drive. Be careful here. Picnik will use the same name for the edited version. Picnik might think about adding some sort of extension in a future update.
I was very impressed with how far Picnik has come in the last three months when I first discovered it. The developers keep adding new tools, controls, effects, shapes and fonts all the time. Being an Internet application, you can access it from any computer in the world. Might come in handy for doing edits from a hotel room in Walt Disney World for all you bloggers and webmasters out there. I suggest giving Picnik a try the next time you need to do some photo editing and see if it might work for you.


Trending Now
An iconic EPCOT ride got a bit of a refresh recently!
What's become of Hollywood Studios' opening day attractions?
If you're a Disney Visa Cardmember, this is a Disney World discount you can't miss...
We found your perfect Hollywood Studios tee.
Here are some Disney household items on sale right now from Amazon!
We're digging into Disney World's Magic Kingdom expansion plans!
From time to time, rides and attractions are taken out of production temporarily for various...
The way guests pay for Savi's Workshop and Droid Depot is changing!
One of Disney World's parks is about to celebrate a NEW milestone soon and they're...
We're a little surprised that these ride trends haven't changed in Disney World yet!
It's Gemini season, and for all our Geminis, here are some Loungefly bags that are...
We are checking out seven fancy restaurants that are hidden in Disney World hotels!
Check out all the new photos of Universal's new Terra Luna and Stella Nova Resorts...
Disney World has shared an UPDATE about the Fort Wilderness Cabins that you need to...
Let's take a look at everything that's been confirmed to return so far.
We asked our readers to share which Disney World restaurants they have beef with and...
Wondering which of Disney World's new restaurants to eat at? We can help!
We're breaking down what the Disability Access Service is and how it will be changing...
Planning a trip with your friends and don't know how to plan an itinerary? Don't...
A NEW Disney show has premiered on YouTube but you can check the first episode...