


One of the great events at each year’s MagicMeets is the silent auction for the Make-A-Wish Foundation® of America. This auction is run by Lou Mongello’s Dream Team Project volunteers and features hundreds of items for people to bid on. So far the auctions have raised $32,000 for Make-A-Wish. It’s a beautiful way to share the Disney spirit!
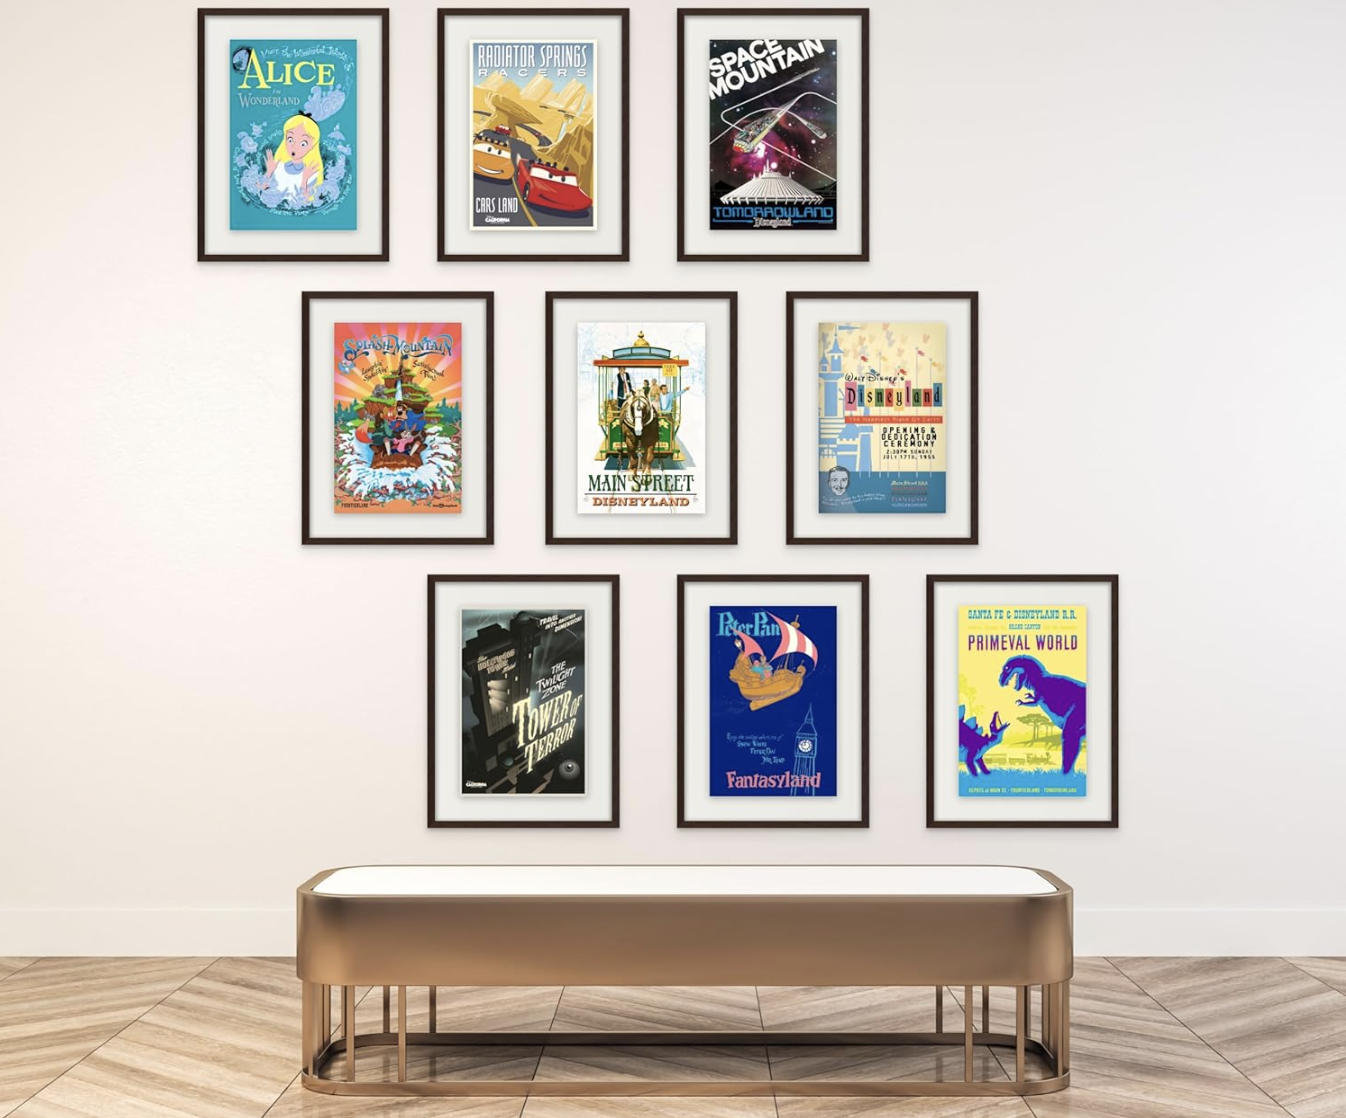
Last year I was asked to donate something and I chose a professionally framed 16×20 inch print from one of my Animal Kingdom photos. This year I am again donating a framed print. A replica you can see below. This is a photo you may have seen here before as I used it when I talked about using tripods at Walt Disney World earlier this year.

Replica of framed Twilight Zone Tower of Terror print.
Nikon D70/18-200VR, 25s, f/18, 200 ISO, EV +0.3, 80mm Focal length
When you decide to make a print of one of your digital images, you have to process it a bit differently than if you were going to display it in a digital frame or on the Internet. For instance, you must sharpen it differently and more aggressively. Have in mind the size you want to print it at and crop accordingly. For the Tower of Terror photo, I knew I was going to print it at 16×20 so I cropped it for an 8×10 (which is the same ratio as a 16×20). Set the DPI (dots per inch) at a minimum of 300. The human eye can not tell the difference beyond 300 DPI. As a comparison, most web images are at 72 DPI which create much smaller file sizes and load faster on our screens.
If you want to make sure what you see on your screen is what you’ll see come out on your printer you should color calibrate both the computer’s display screen and printer. You should check out your software’s manual and supporting websites to get specific information regarding preparing your images for printing.
I use an online printer who color corrects and sharpens as needed before printing. For this year’s auction print, I chose to use Kodak Professional Endura Metallic paper which is supposed to produce a striking, three-dimensional-like image. I’ll let you know! I will have a local professional frame shop do the framing. What’s nice about working with a local frame shop is you can bring the print in and match it up with a sample of hundreds of framing materials to find just the right one for the photo.
For those of you attending next week’s MagicMeets, I’ll be around photographing and helping out at the AllEars.net booth. Stop by and say “Hi!”.


Trending Now
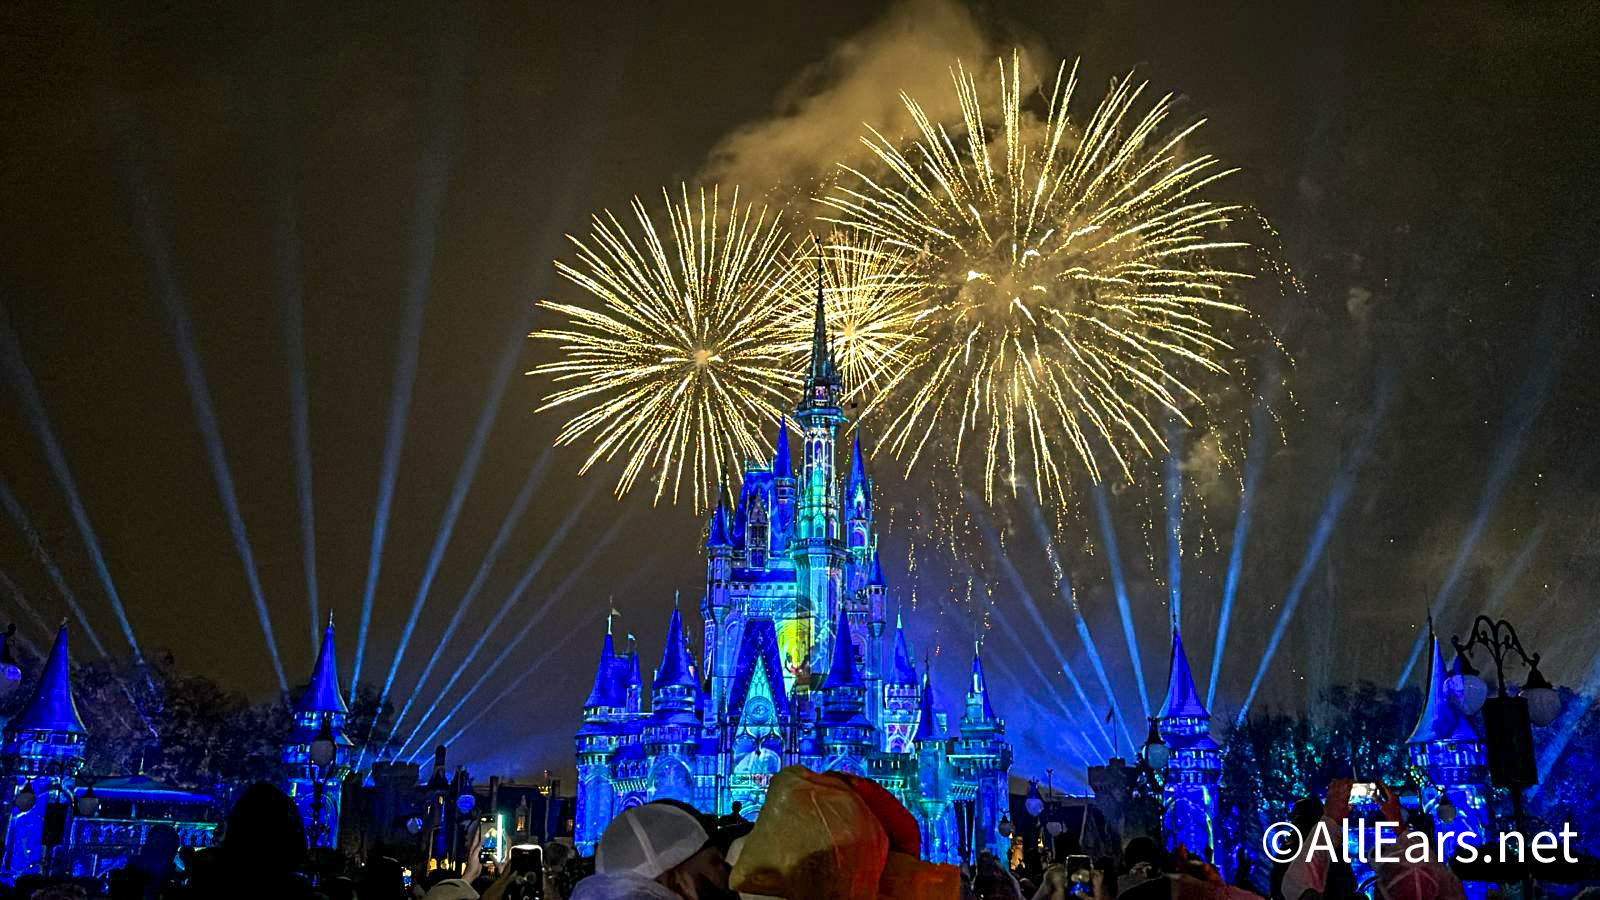
Fireworks are an iconic way to end your Disney World day! But as sunset gets...
Don't miss out on these super low prices on Amazon for a bunch of cool...
See what a Disney EXPERT does when a ride is CLOSED!
People are STILL making these same Disney World mistakes.
The legendary music event, previously exclusive to IMAX, is having its global streaming premiere on...
Disney has announced that they have officially decided on the theme for what will replace...
This is the BEST Disney World hotel according to our readers, and you can't convince...
These are the things we love to do to feel FANCY at Disney World.
World of Color will be reopening from refurbishment tomorrow!
Celebrating your birthday in Disney World soon? HOW FUN! Check out some of our favorite...
These rules might seem like no brainers, but they get people kicked out of Disney...
We use these seven cheats at Disney World's EPCOT all the time.
We took a trip to Adventureland and found some must-have souvenirs!
With the EPCOT International Food and Wine Festival right around the corner, make sure you...
There are some discounts you're not taking advantage of for Disney World -- check them...
Universal just posted a sneak peek at NEW Epic Universe rides!
I go to Disney World alone A LOT, and these are the restaurants that never...
I've got all the tips to help you have a successful trip to Disney World...
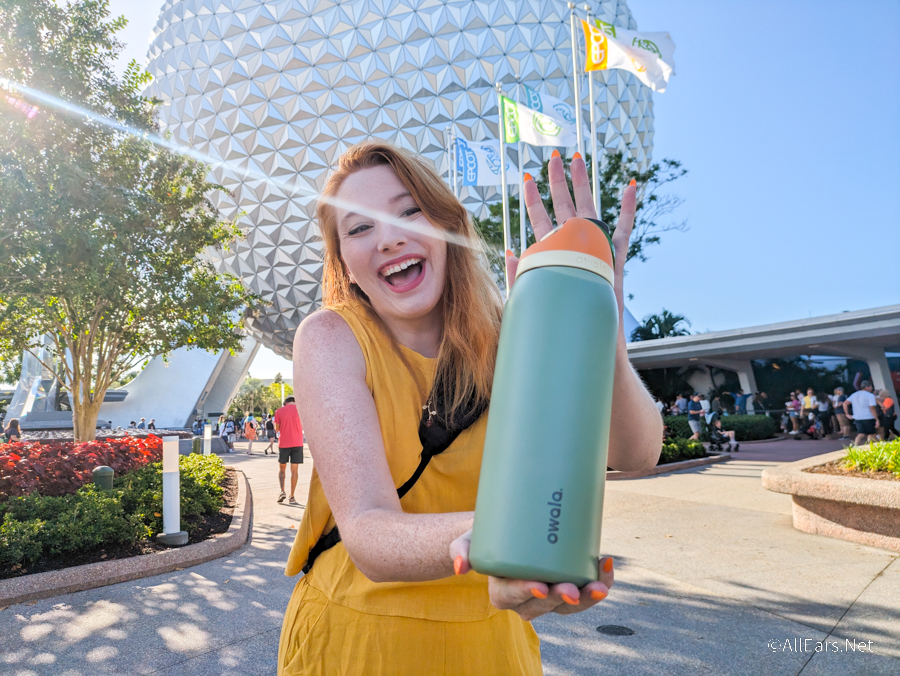
I'm sharing why I love my absolute favorite water bottle!
If you love Animal Kingdom Lodge as much as we do, these Loungefly bags are...