


On to top of your digital SLR or advanced Point & Shoot cameras is a Mode Dial. On this dial you will find the main shooting modes to let you take more creative control of your photography. Below is a list with a short decription for each one. For more detailed information, consult your camera’s manual.
AUTO or A-DEP – this is an SLR’s version of a Point & Shoot mode. It will calculate your exposure for you including the ISO, metering mode, aperture and shutter speed (this may vary by manufacturer).
P for Program – calculates the aperture and shutter speed given the camera’s settings for ISO, metering mode, and white balance (this may vary by manufacturer).
S or Tv for Shutter Priority – you set the shutter speed manually and the aperture is calculated for you given the camera’s settings for ISO, metering mode, and white balance (this may vary by manufacturer).
A or Av for Aperture Priority – you set the aperture or f-stop manually and the shutter speed is calculated for you given the camera’s settings for ISO, metering mode, and white balance (this may vary by manufacturer).
M for Manual – you set both the aperture and shutter speed and take full manual control of all the camera settings. You have to be careful here as some other settings may or may not be affected. Check your camera’s manual.
With that little primer finished, I’m going to start with the Shutter Priority (S) Mode and continue a series of entries over the next few weeks to cover the rest. Let’s climb right into how to use the S-Mode by looking at this photo from Epcot’s Canadian pavilion featuring the Rocky Mountains with a very tall waterfall.

Rocky Mountain waterfall in Epcot’s Canadian pavilion.
Nikon D70/18-200VR, 1/30s, f/18, 200 ISO, -0.3 EV, 28mm Focal Length
I took a few images of this beautiful scene with the late day light striking the top of the mountains and the waterfall cascading down the mountain side. For the first ones, I was in P or Program mode and it kept selecting shutter speeds which froze the water. Made the water look very static and uninteresting. Often when taking pictures of moving objects, like water, you want to show it’s motion. The best way to do that is to use a slow shutter speed.
To get the effect you see above, I turned the Mode Dial on my Nikon D70 to S putting it in Shutter Priority mode. I now had control of the shutter speed by turning the command dial (this may be different for your camera so check your manual. Sound like a broken record, don’t I?). I took photographs at shutter speeds of 1/60, 1/30, and 1/15 of a second. Each time the camera selected the aperture for me based on the other camera settings (refer to the Exif data below the photo).
I’m sure you have seen other waterfall photographs where even longer shutter speeds were used giving the water an even softer look. Those pictures were taken with shutter speeds over multiple seconds and require a tripod to keep the rest of scene in sharp focus. Something I didn’t have with me during this visit to Walt Disney World.
If you are taking pictures of action scenes like the Indiana Jones Stunt Spectacular or Lights, Motors, Action! Extreme Stunt shows at Disney’s Hollywood Studios, you may want to use a very fast shutter speed to freeze the action. I would start at 1/250 for Indy and 1/500 for Lights, Motors, Action!
For more on the use of shutter speeds, check out some of our past Picture This! entries:


Trending Now
This once-canceled TV show just got renewed for an eighth season.
Don't miss out on these super low prices on Amazon for a bunch of cool...
Fireworks are an iconic way to end your Disney World day! But as sunset gets...
This is the BEST Disney World hotel according to our readers, and you can't convince...
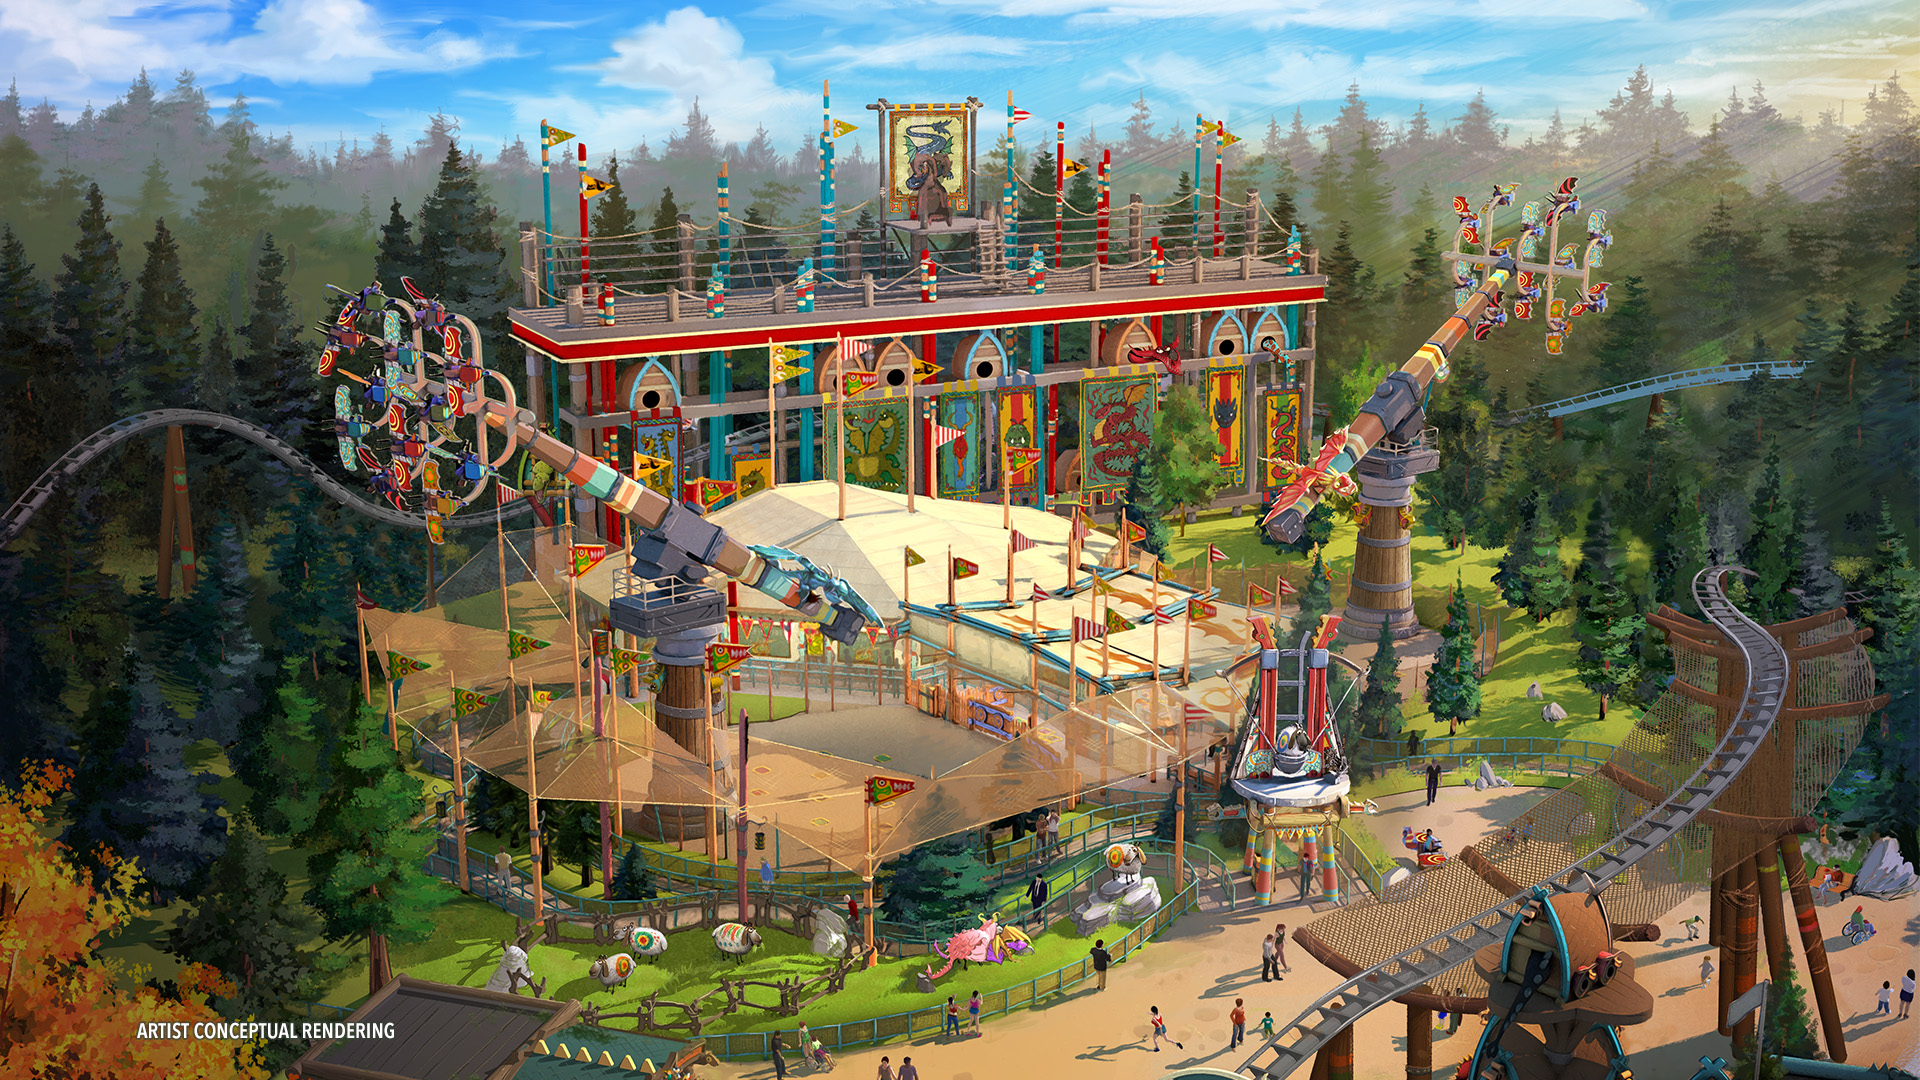
Universal just posted a sneak peek at NEW Epic Universe rides!
I go to Disney World alone A LOT, and these are the restaurants that never...
Start getting ready to add some new shows and movies to your Disney+ watchlist!
Two rides have announced months-long closures at Universal Studios Orlando!
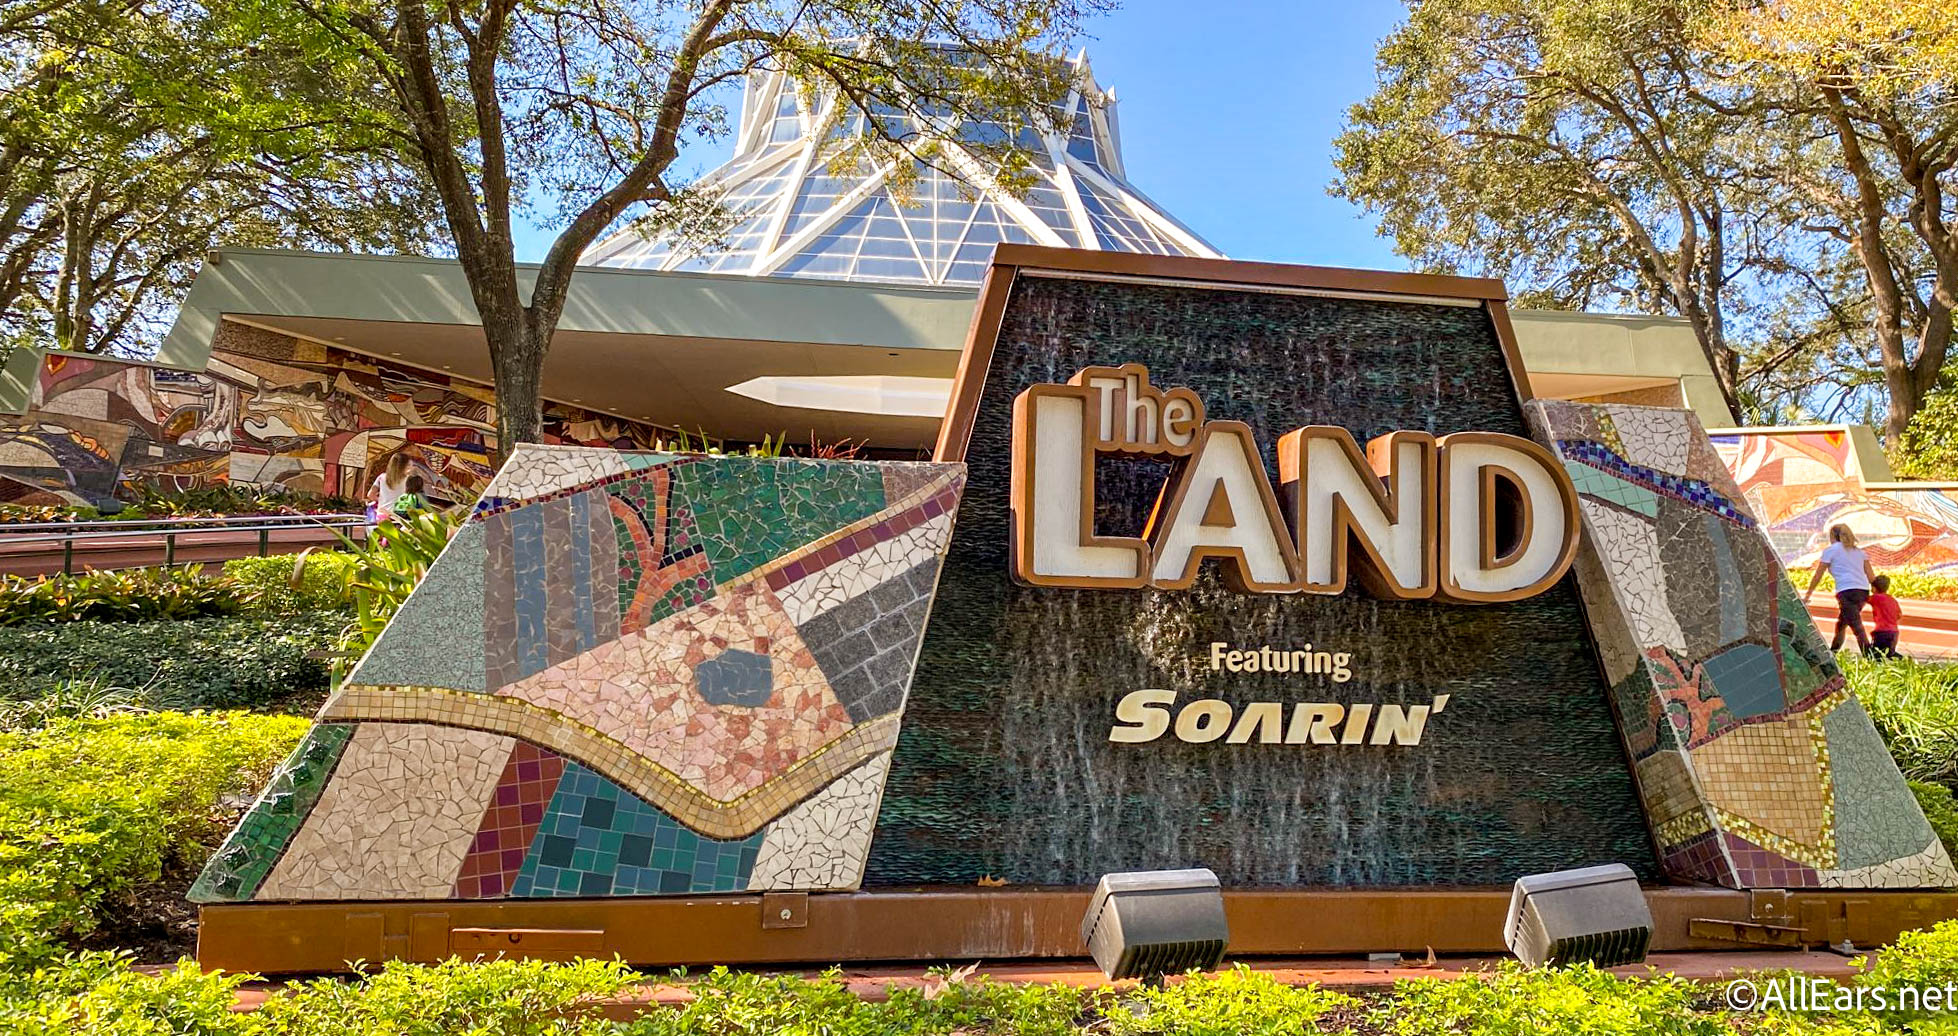
We use these seven cheats at Disney World's EPCOT all the time.
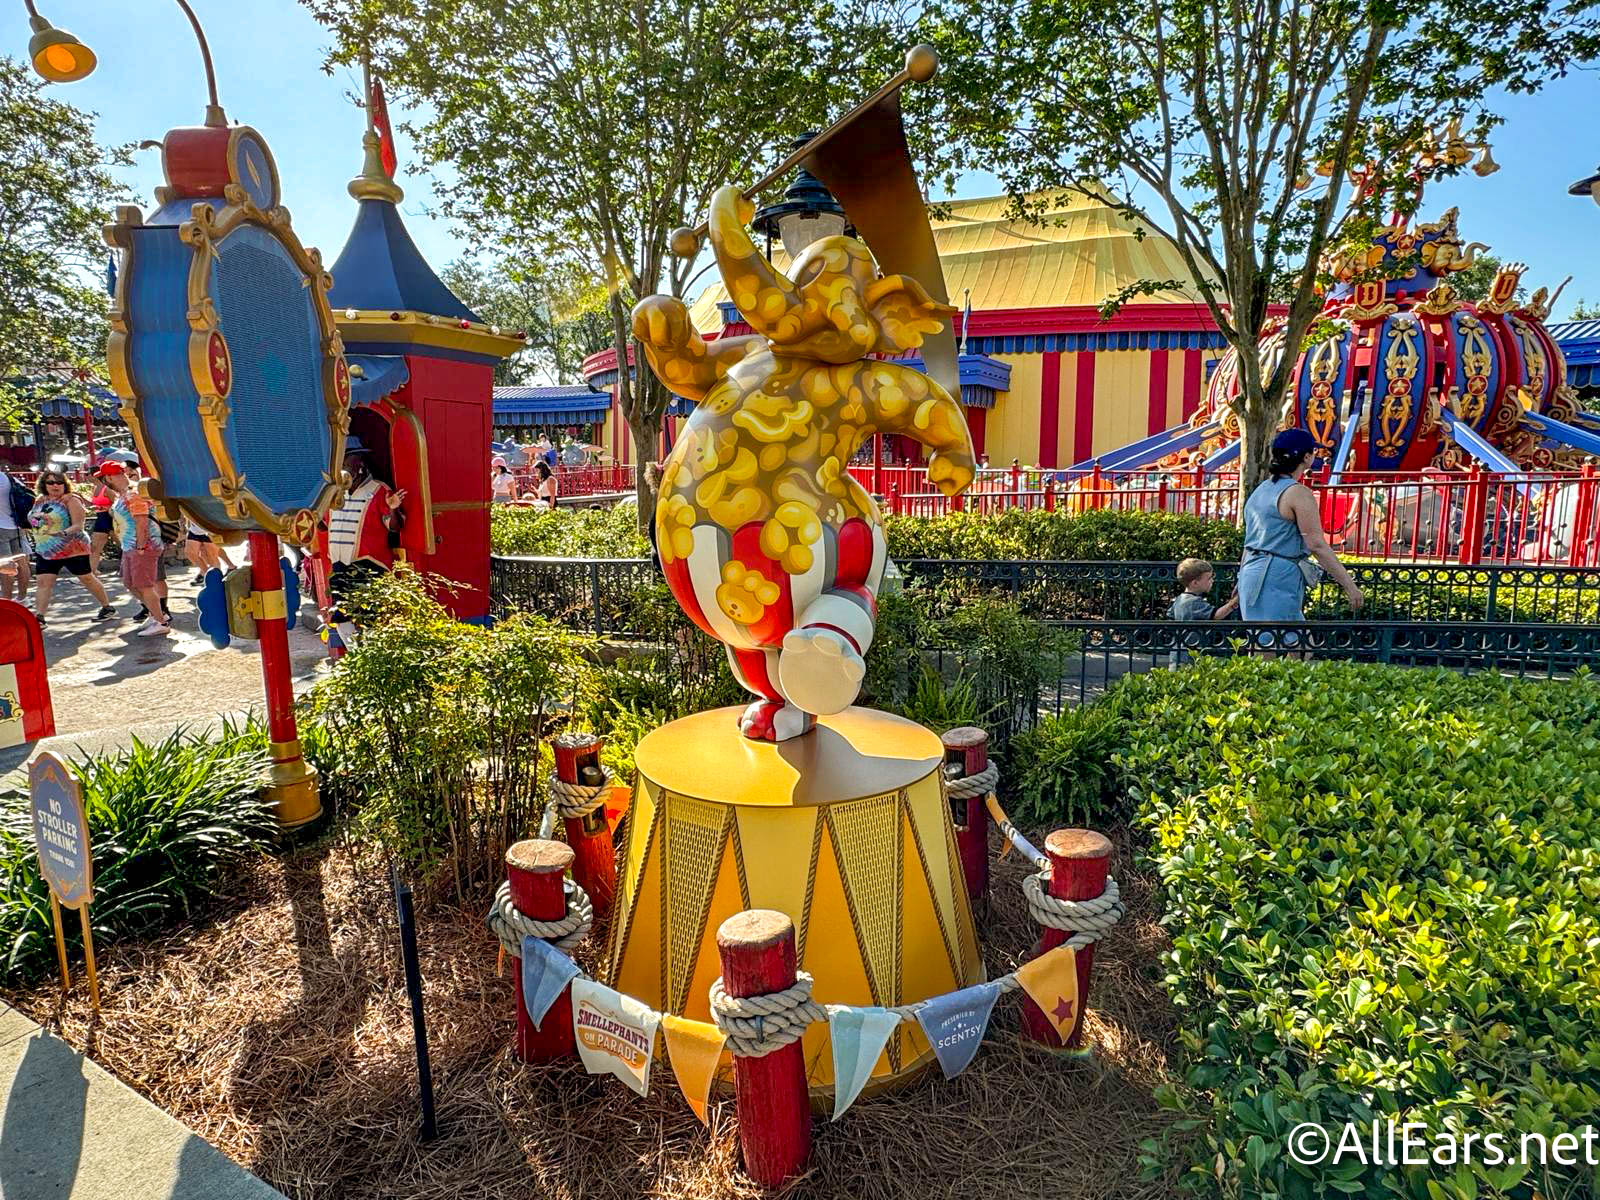
We have a big Smellephants on Parade update in Magic Kingdom!
Victoria & Albert's at Disney World just received a MICHELIN Star!
You'll need to know about this date in Disney World!
Disney is bringing Leah Chase's family to the Magic Kingdom!
Disney World and Disneyland Resort recently announced that they would soon make changes to the Disability Access...
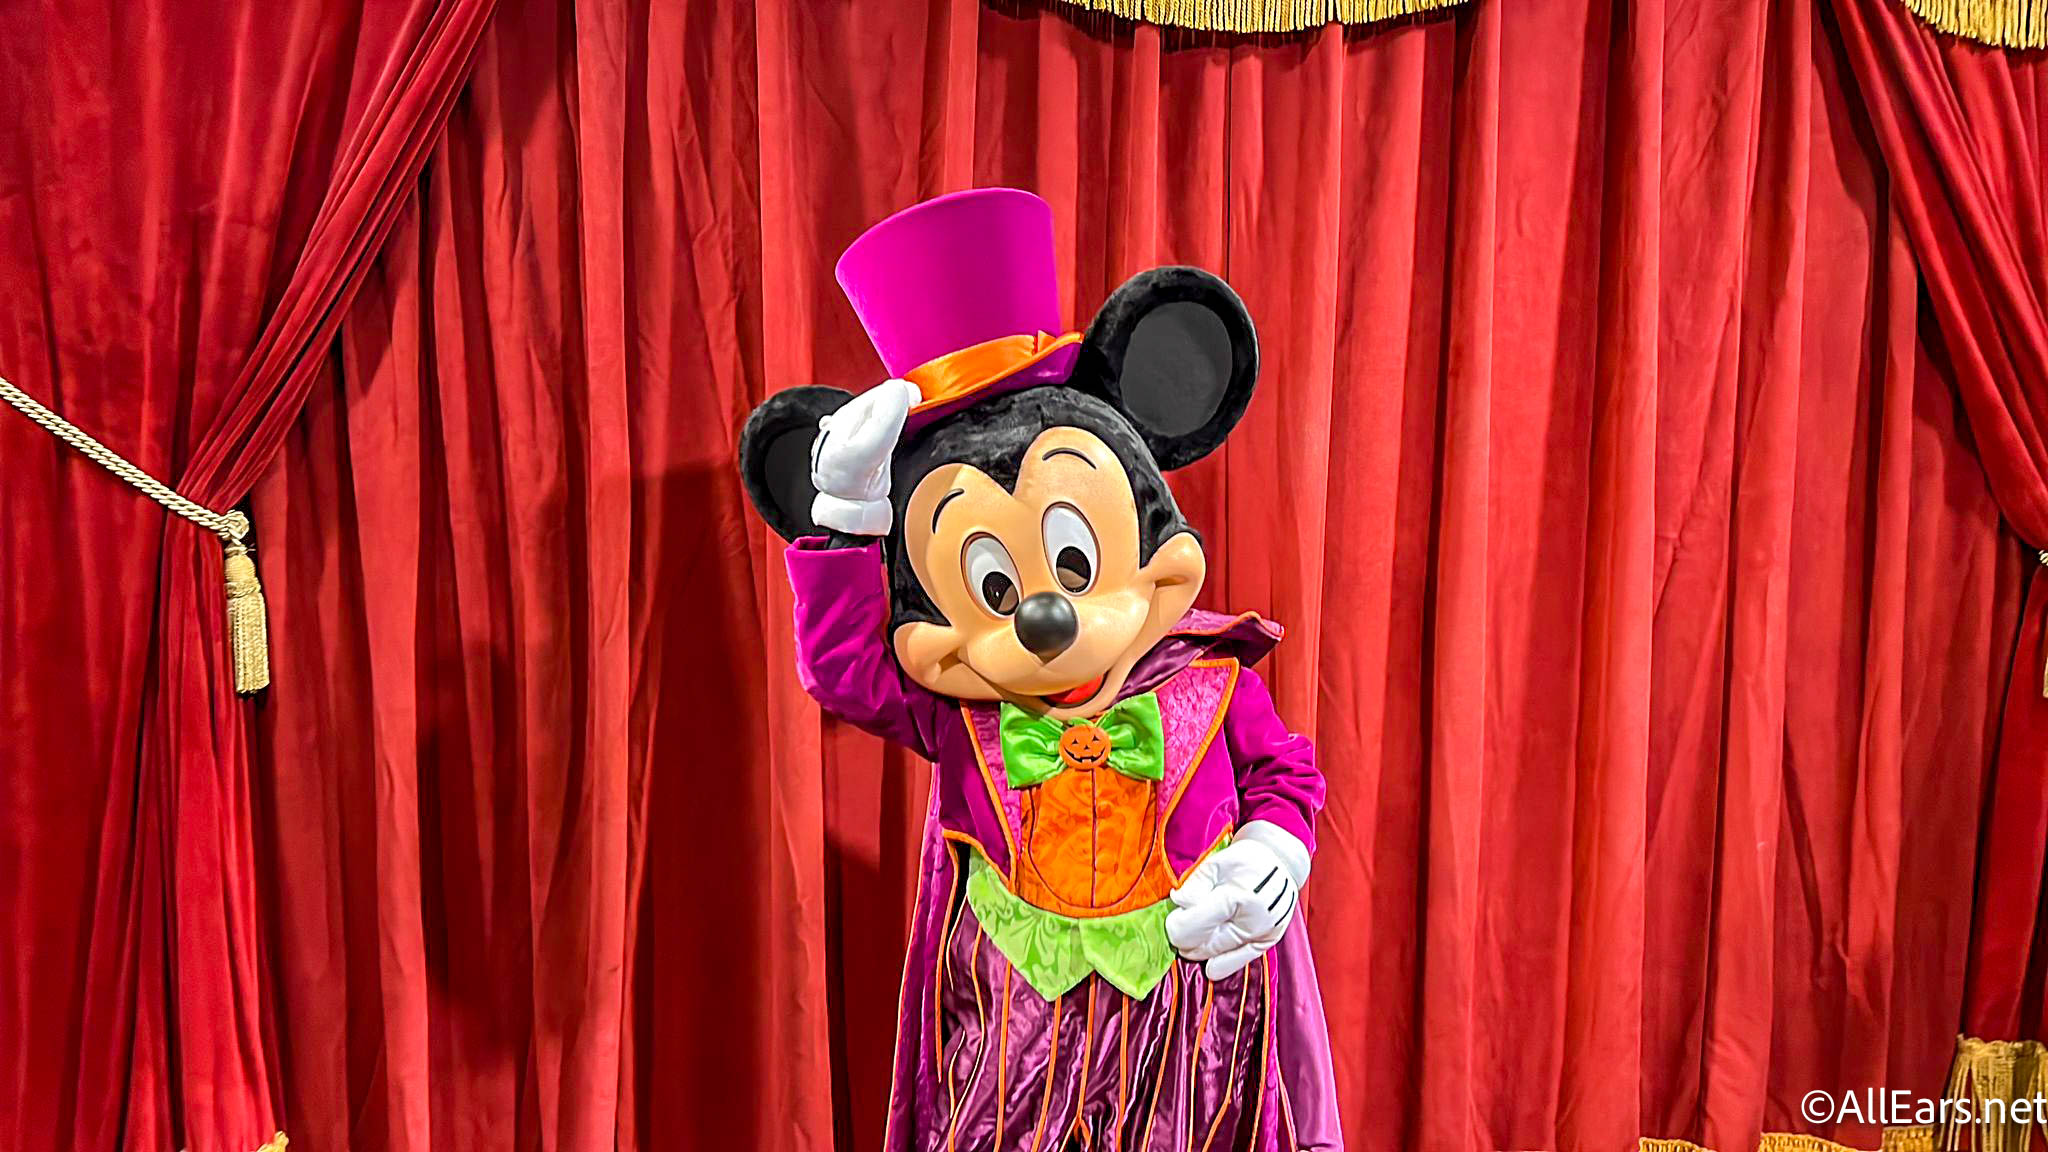
If you're planning to visit Magic Kingdom during Halloween season this year, we have one...
What should you do when one of your priority rides is closed?
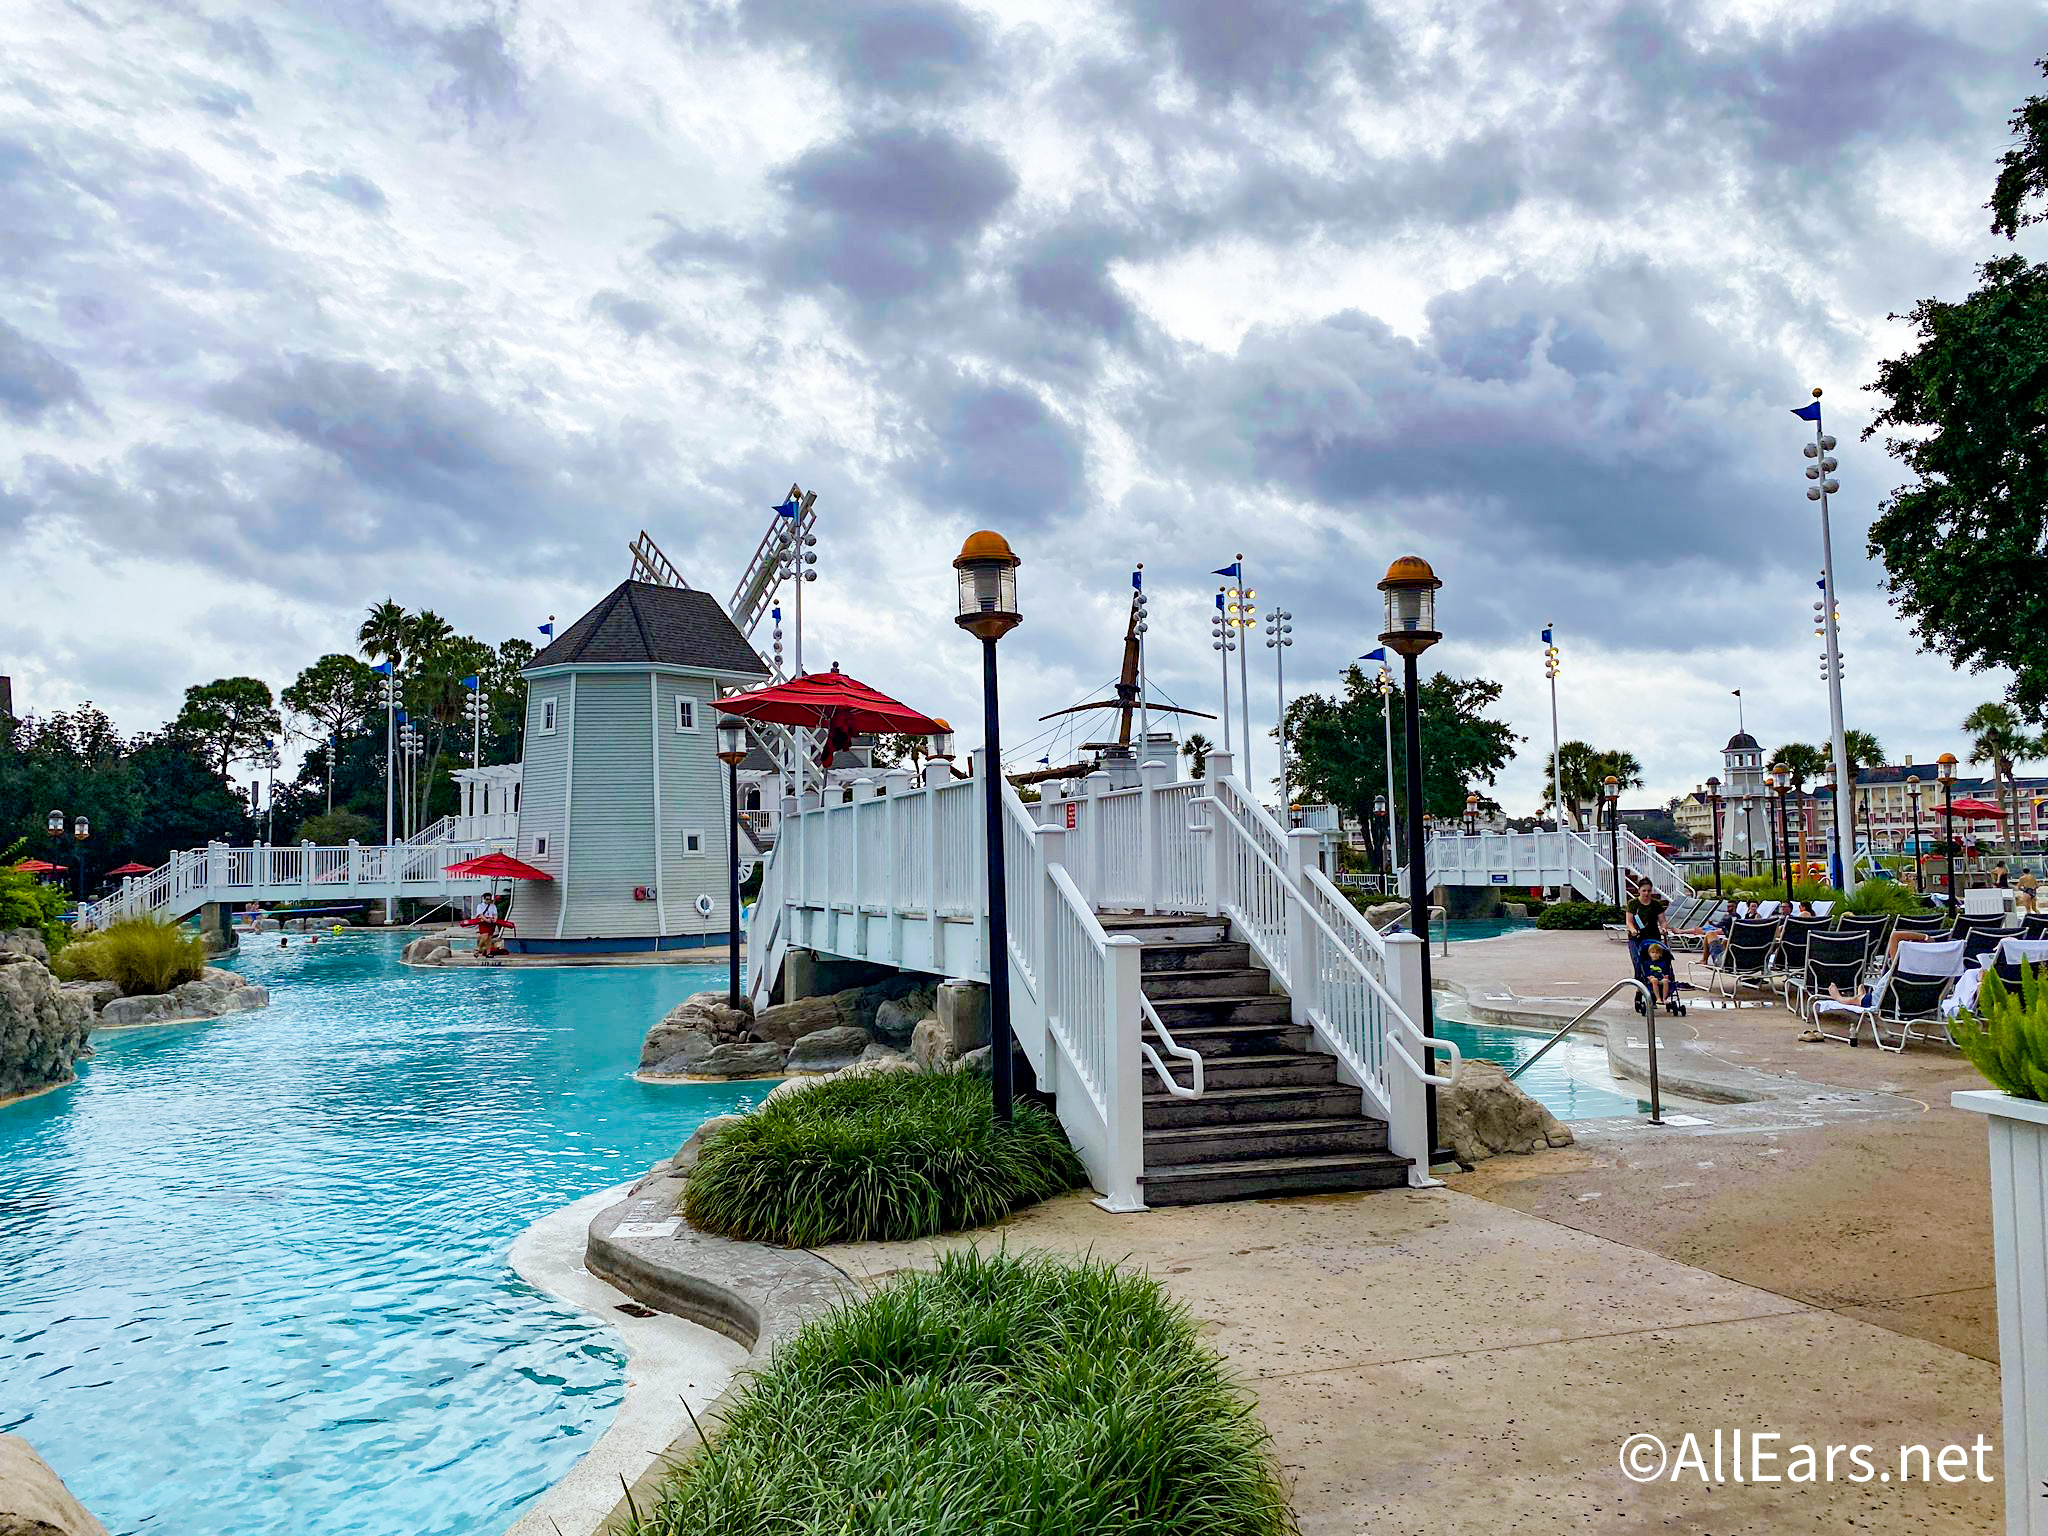
The popular Stormalong Bay pool is will be closed for the first half of 2025.
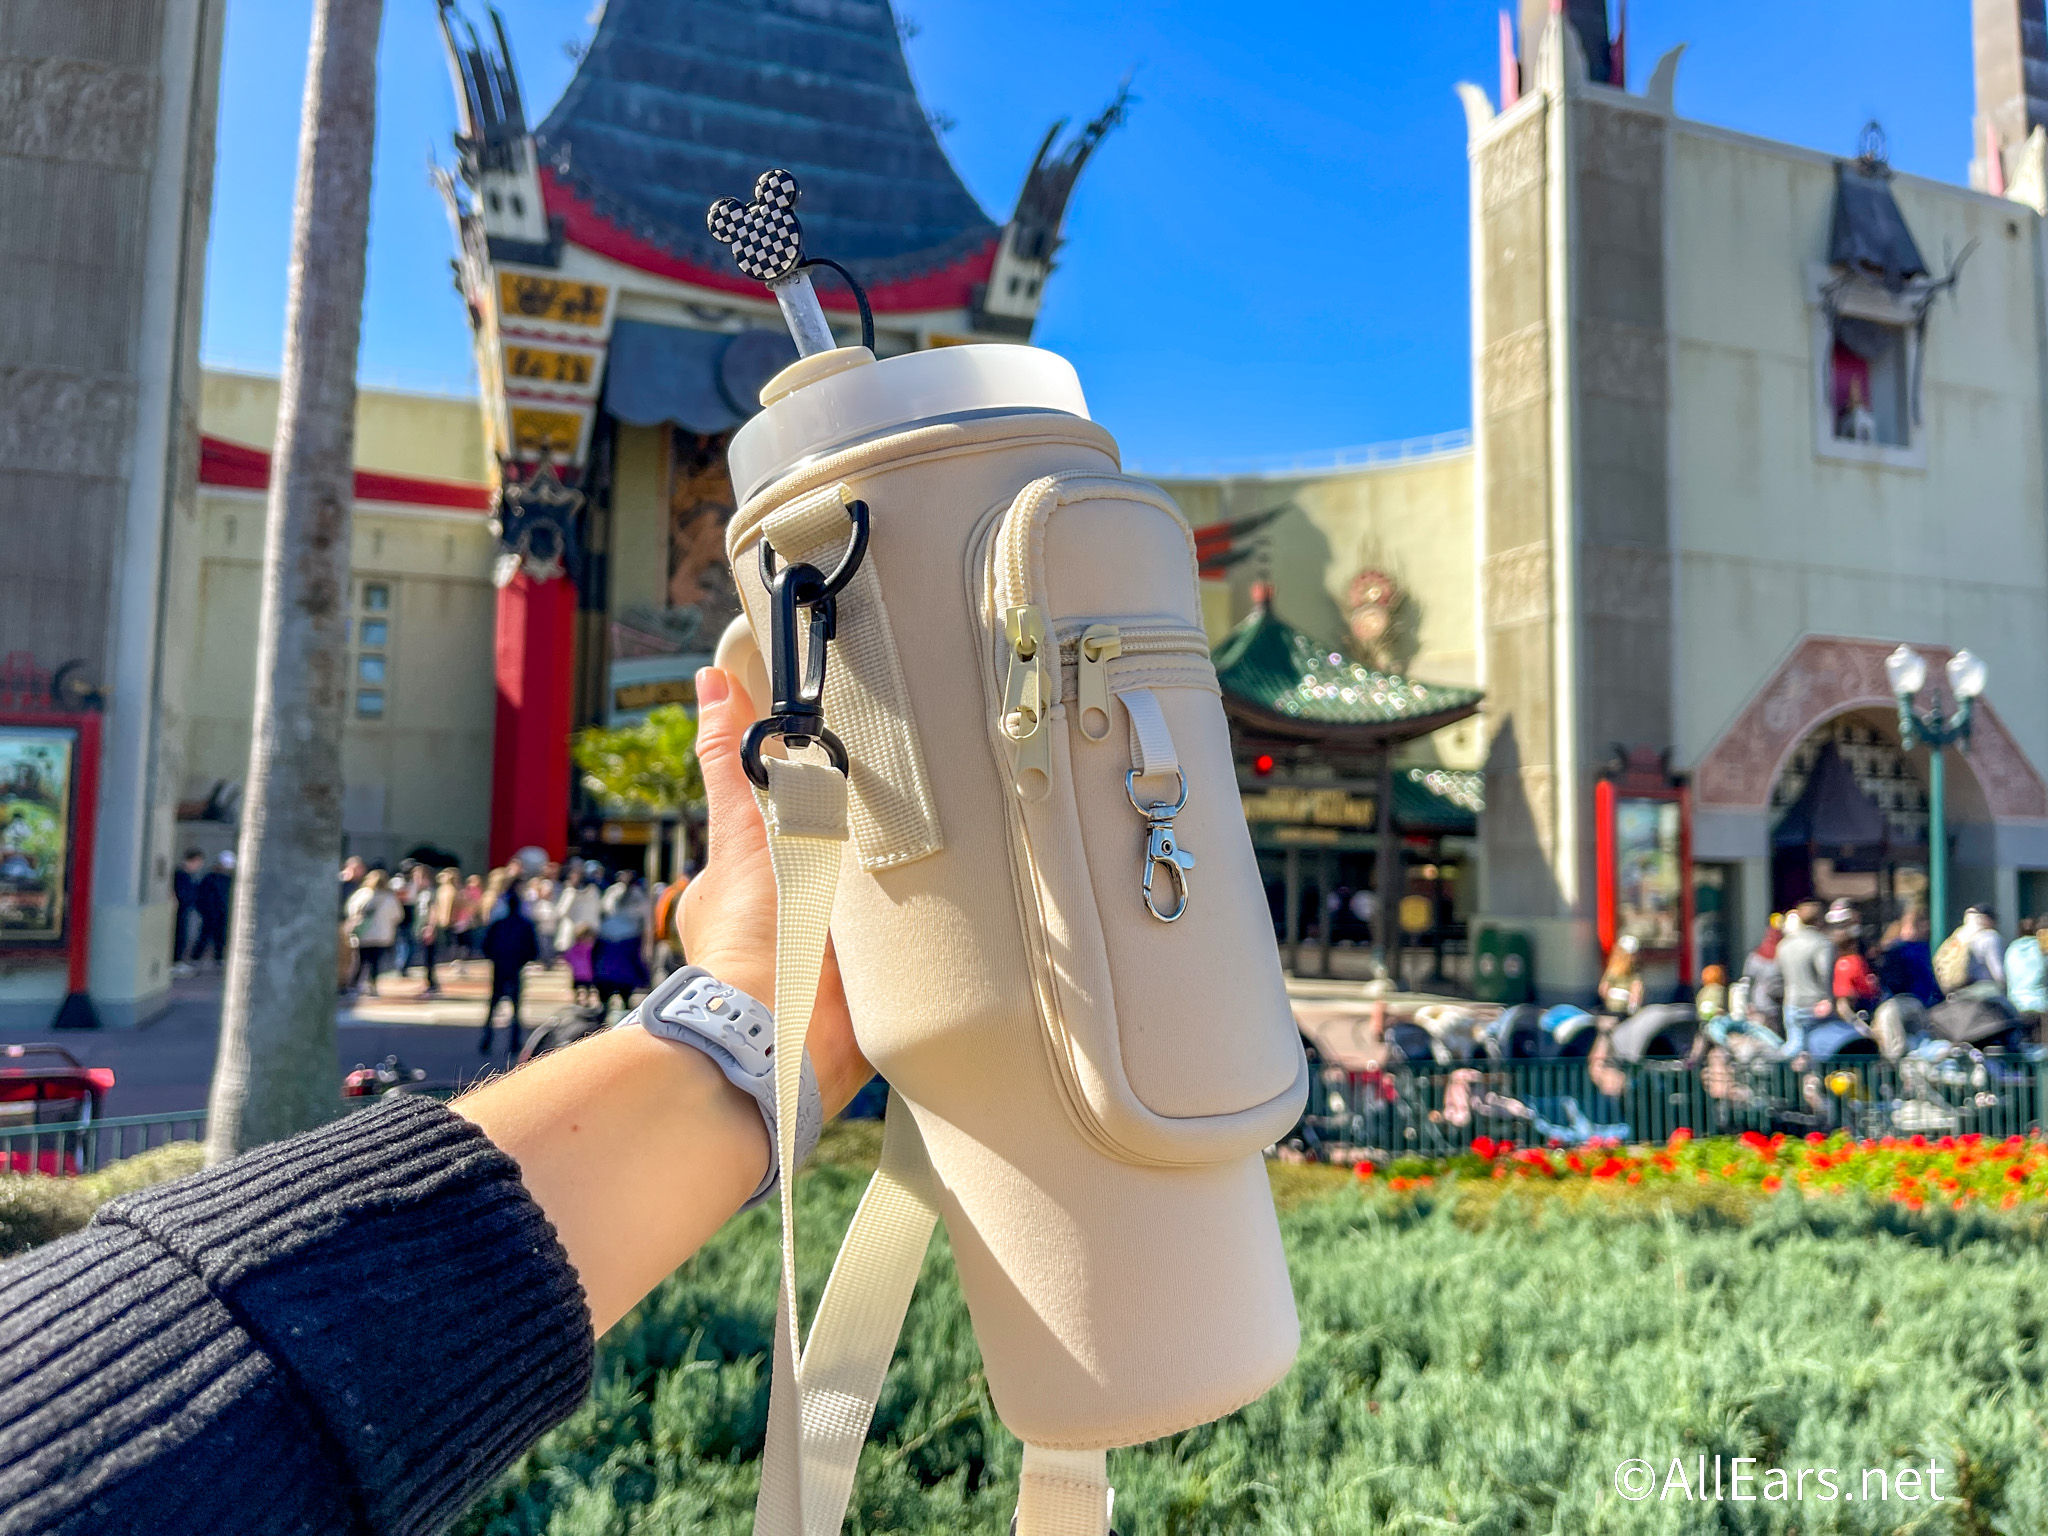
Stanleys are trending and you can grab them on SALE on Amazon before your next...
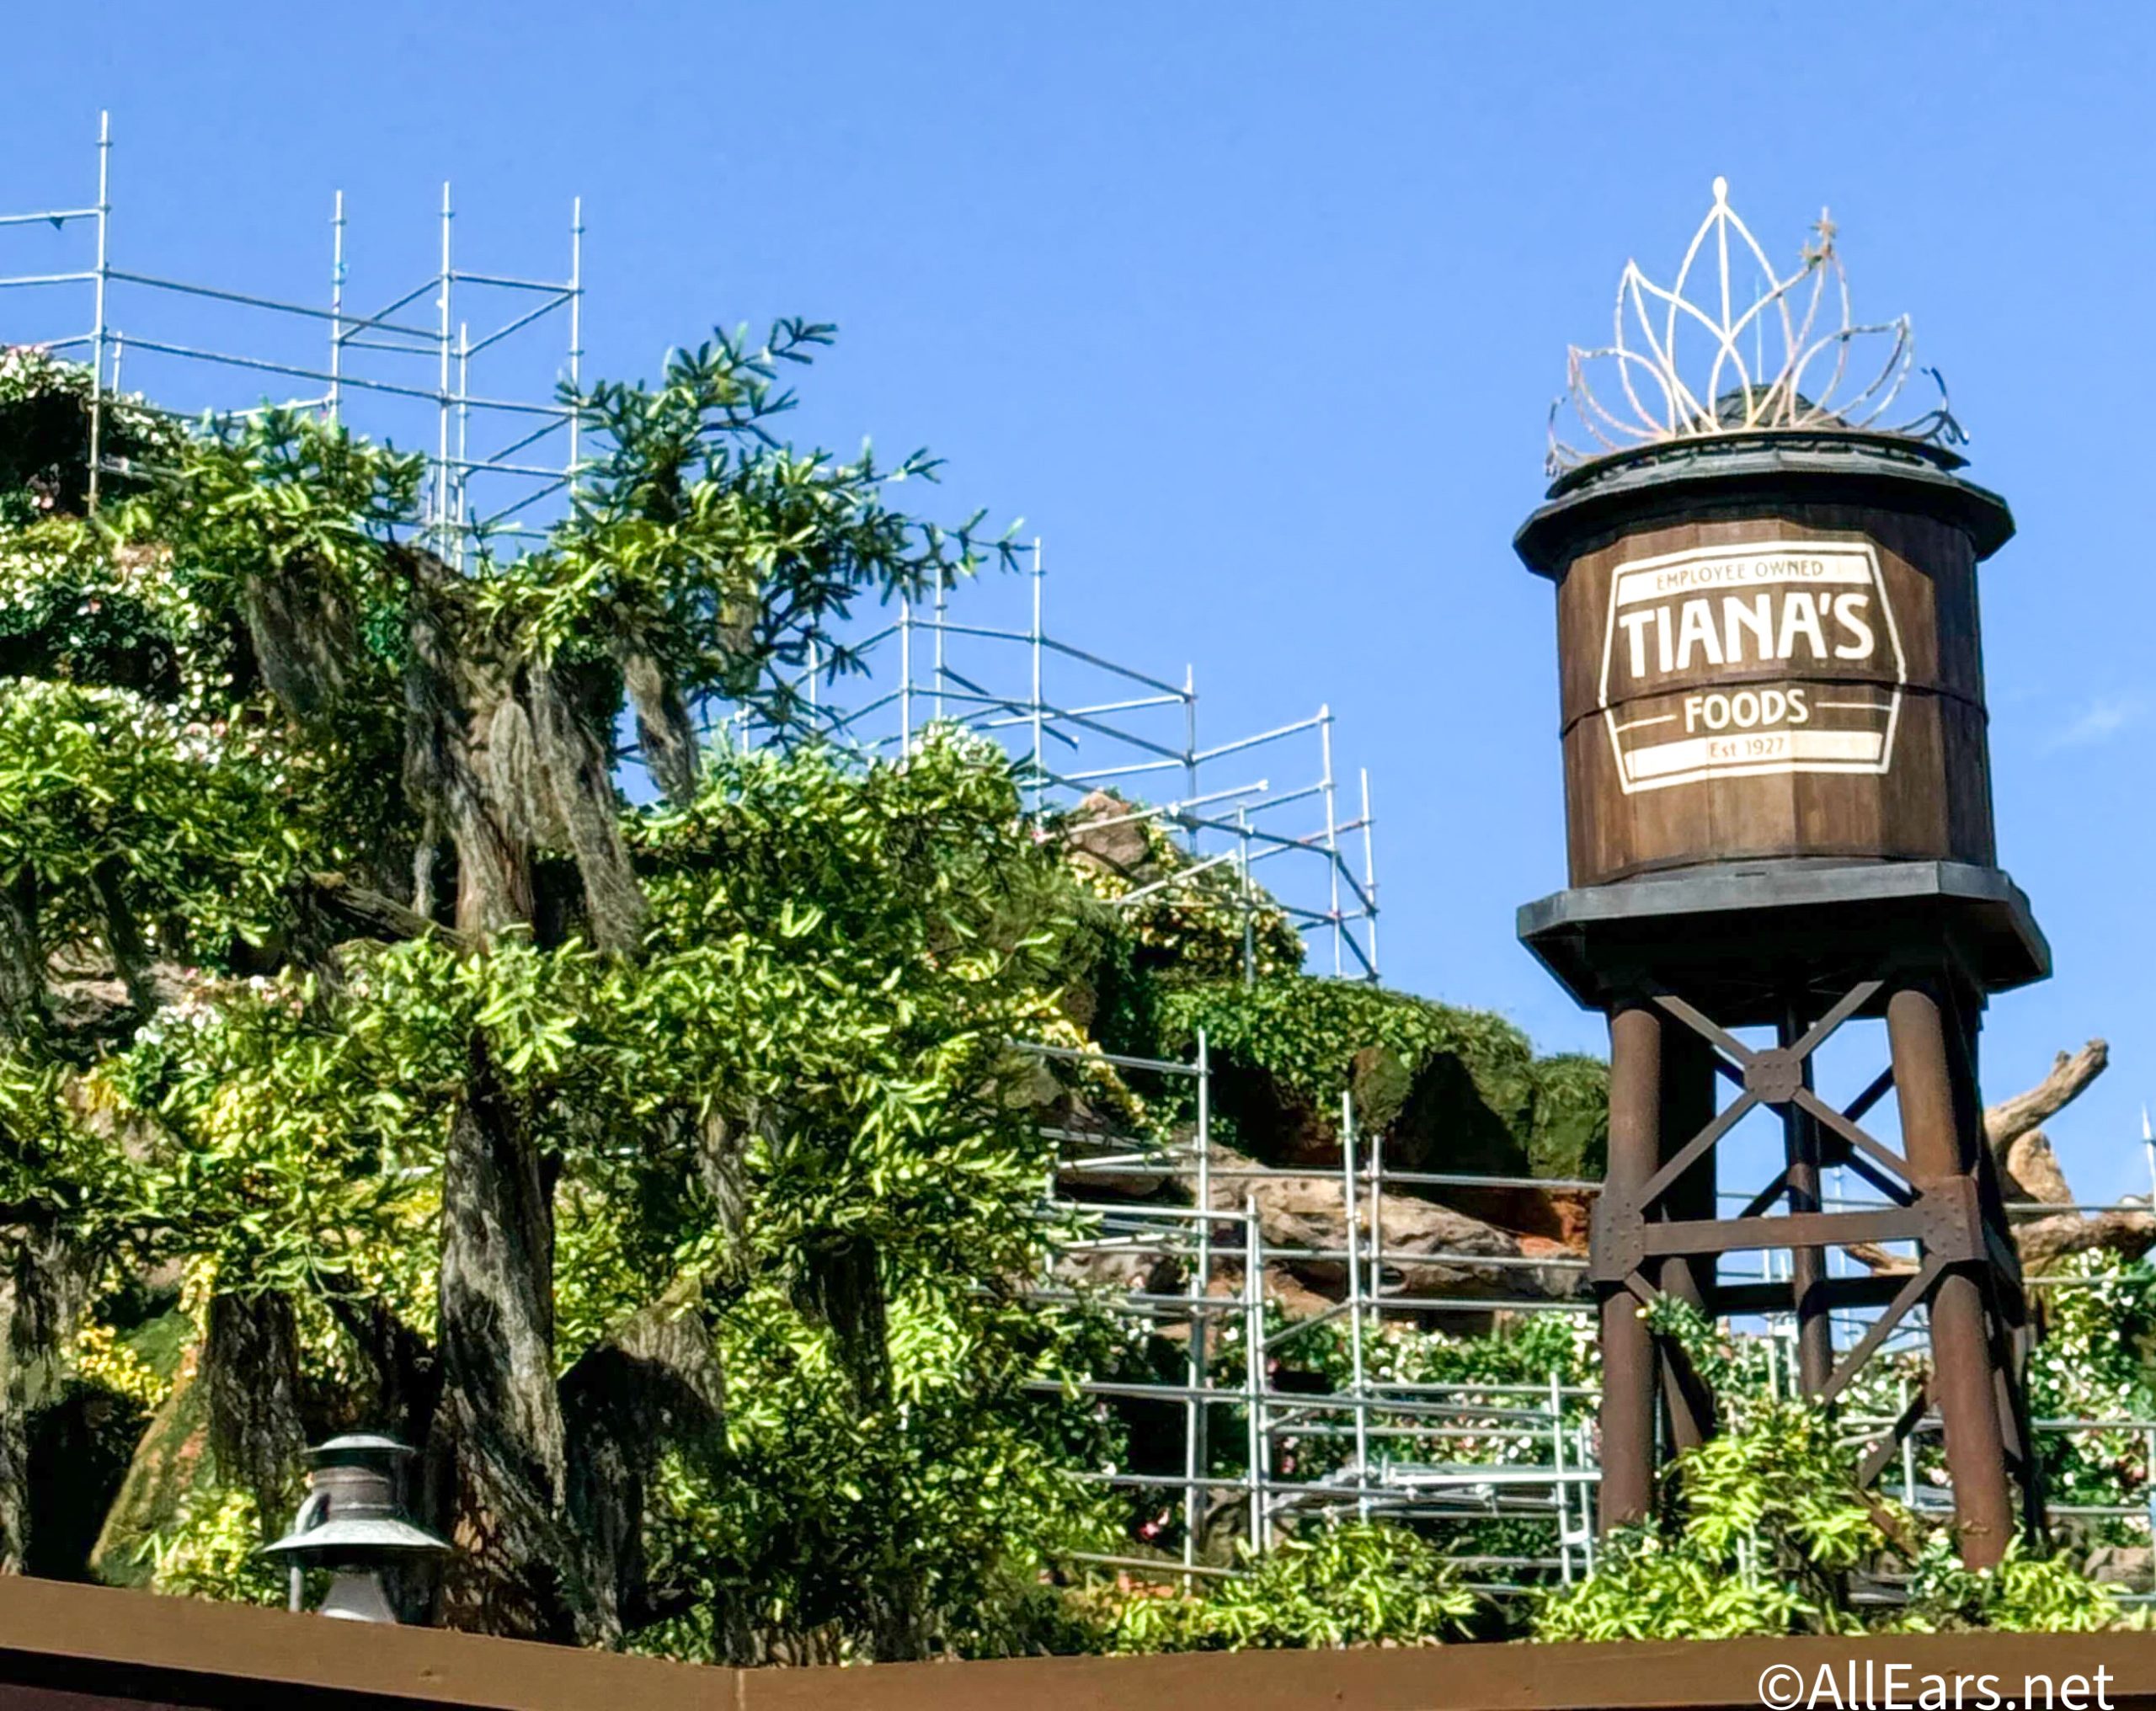
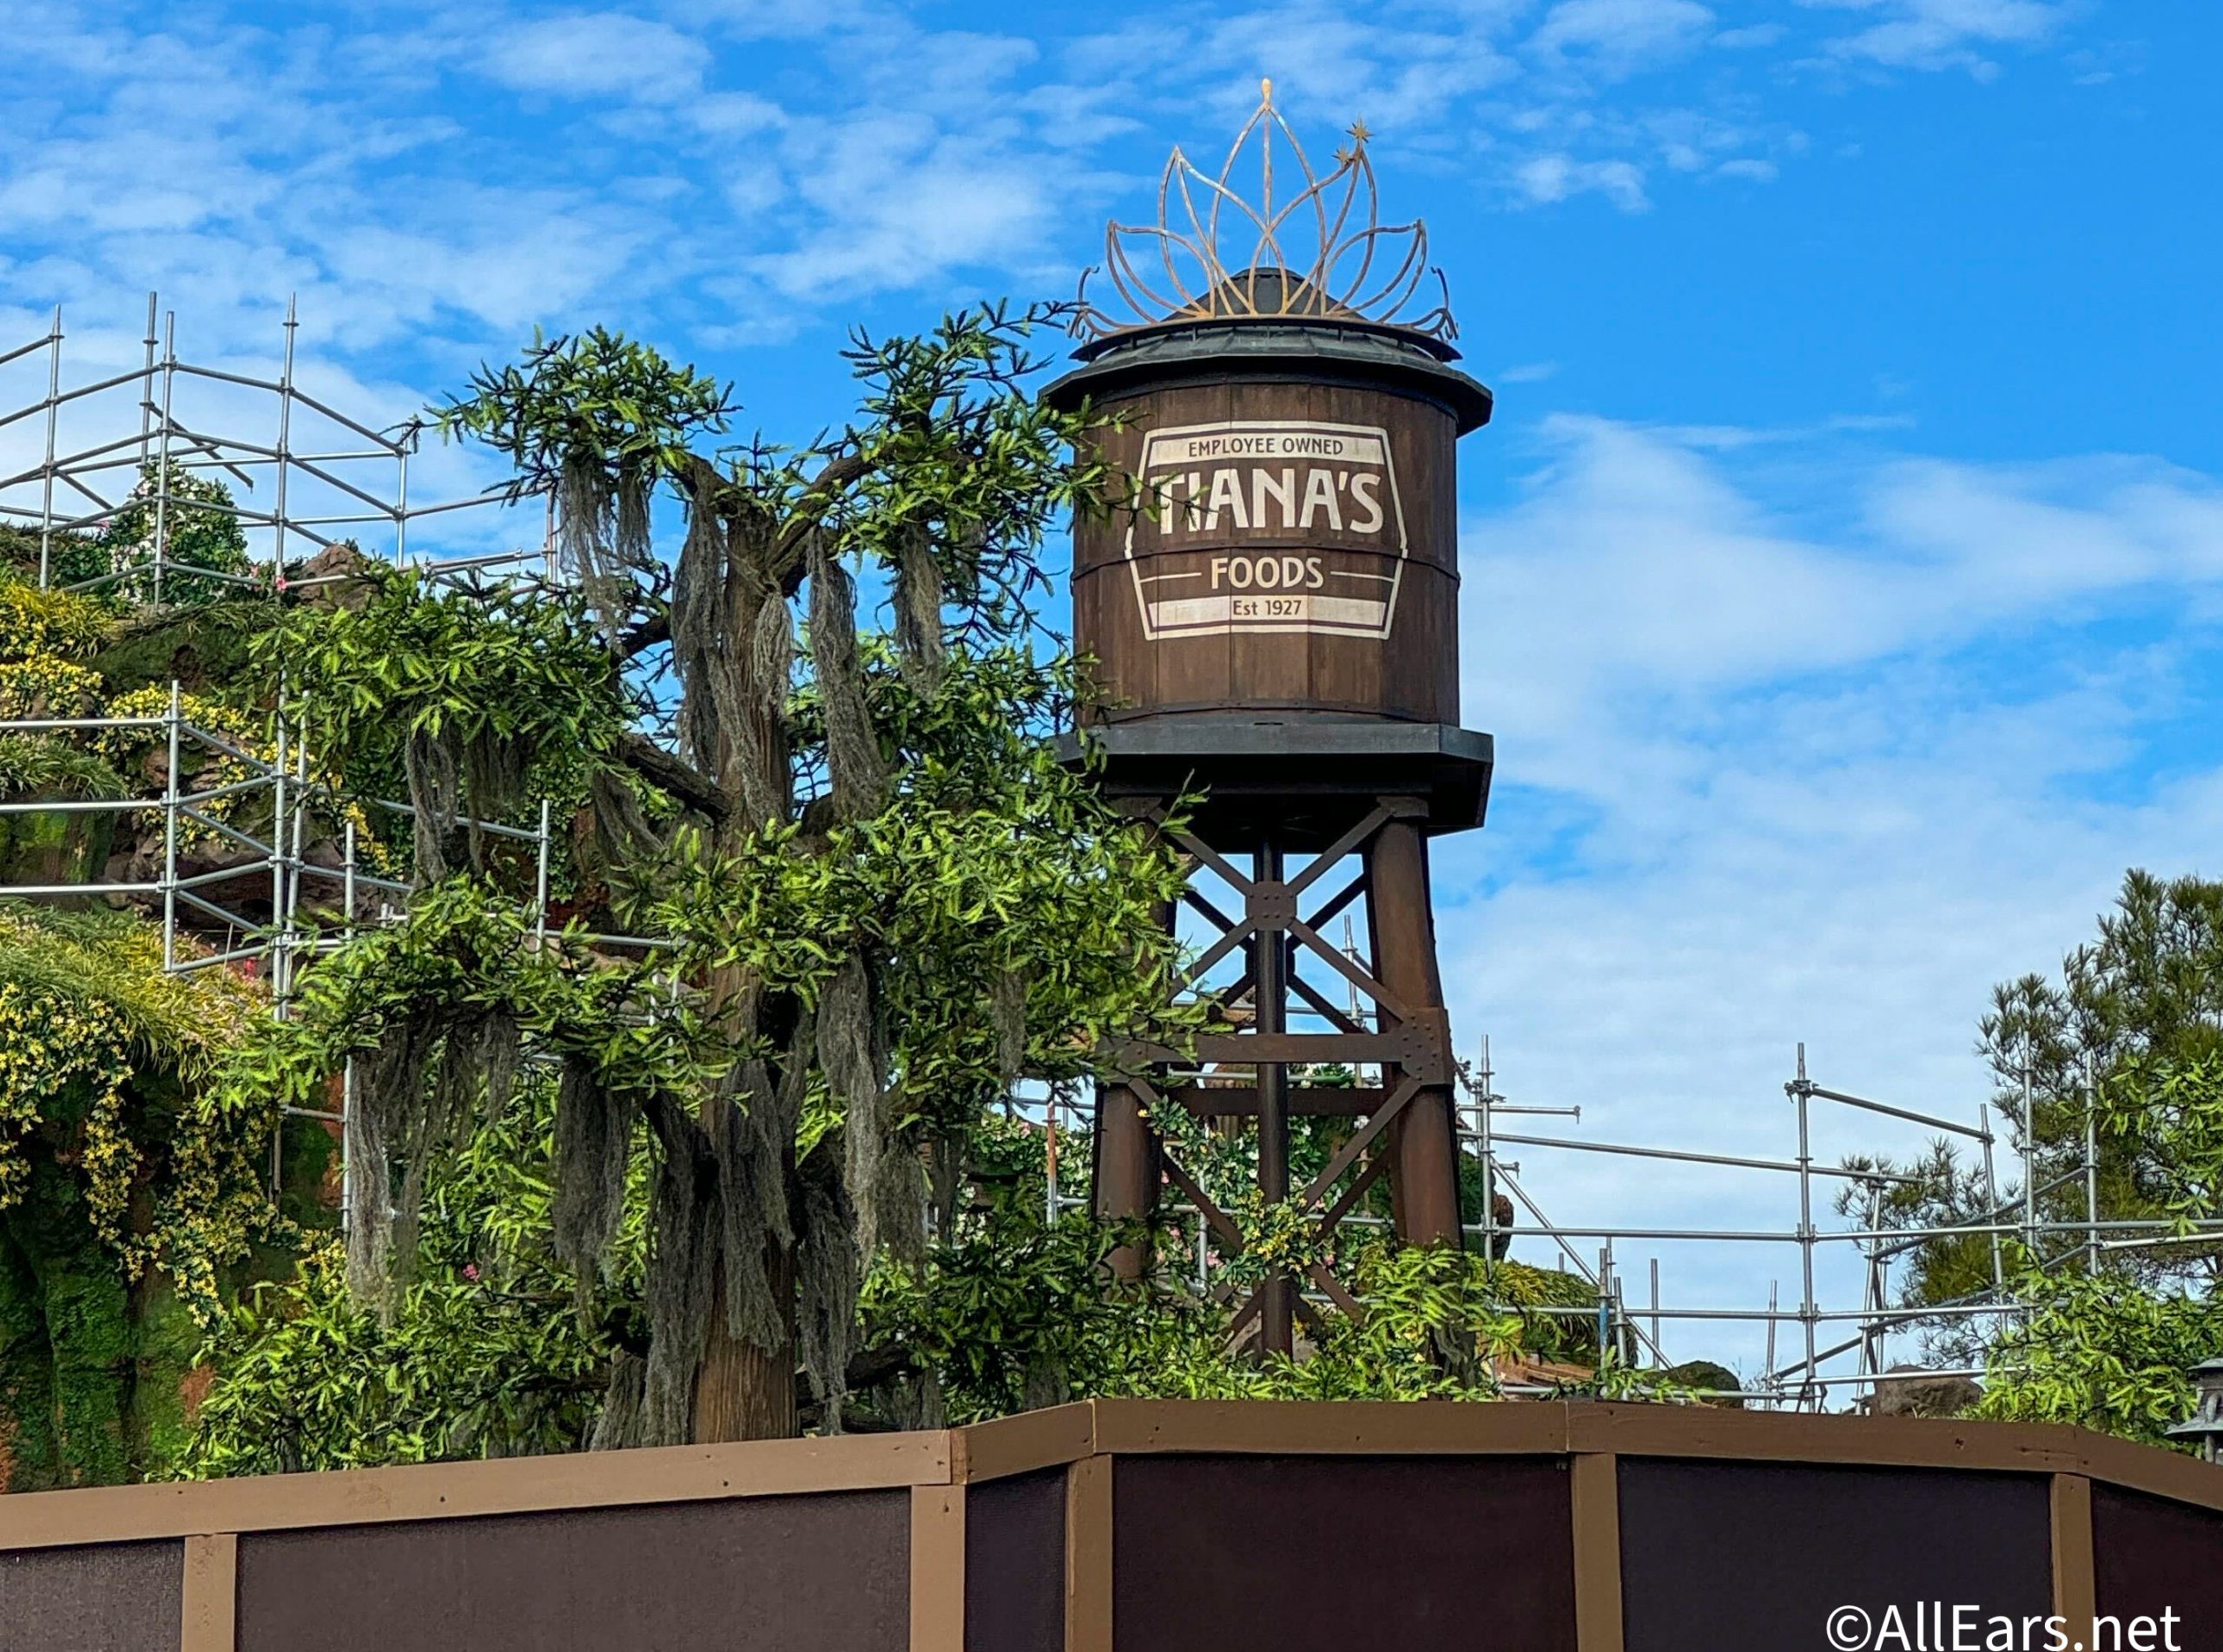
Do we have a hint as to when Tiana's Bayou Adventure will open?
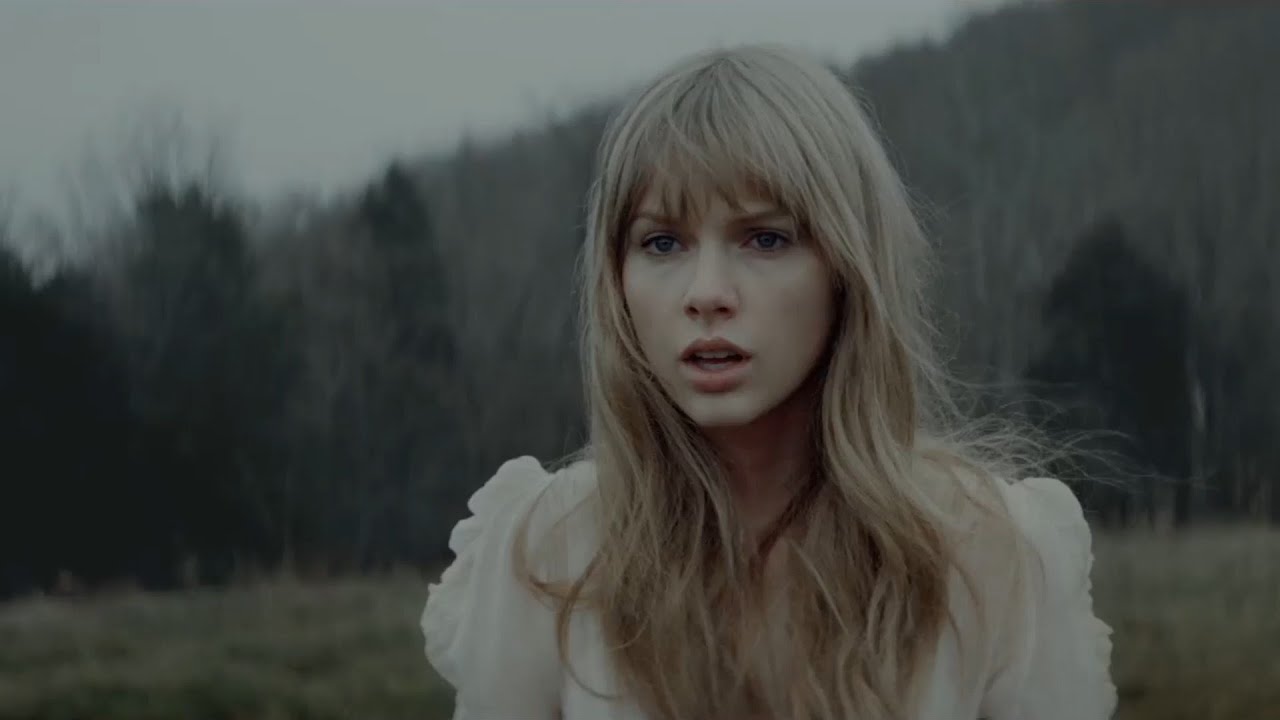
Pixar is celebrating Taylor Swift's new album in a hilarious way!