


Has Halloween snuck up on you? Never fear, Disney Family website has plenty of spooky and sweet ideas for last-minute costumes, carving pumpkins, treats and crafts. Here are a few of my favorites from this year’s crop of ideas.
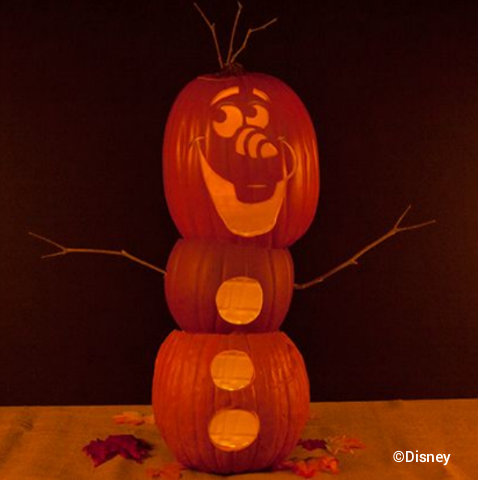
Frozen’s Olaf
Create your own jack-o’-lantern inspired by the lovable snowman from Disney’s Frozen. The great thing about this version of Olaf? He won’t melt.
First, download the template here.
1. There are two ways to transfer your design onto the pumpkin. One is to copy it freehand onto a clean, dry pumpkin with a water-based marker. (Mistakes can be easily corrected with a paper towel.) The other is to tape your template to the pumpkin, then score the design into the skin by poking holes through the template with a nail or plastic poking tool (available in some pumpkin-carving kits).
2. Carve by starting at the center of your design and working outward. (This avoids putting pressure on areas already carved.) Begin with the innermost and smallest details. As each shape loosens up, gently push it out of the pumpkin with a finger or a dull pencil point (a good job for young kids).
3. Use 2 more pumpkins (1 slightly smaller than his head and 1 slightly larger) to create Olaf’s body. Cut 1 circle in the middle pumpkin and 2 circles in the bottom pumpkin (these are his buttons). Cut the tops off of the 2 pumpkins that make up his body so the pumpkins sit carefully inside one another.
4. Use 3 small tree sticks and put them on top of his head. Use 2 small tree sticks to create arms (put 1 on each side of the middle pumpkin).
5. Carefully stack all of the pumpkins in order and make sure he’s in a safe place where he can’t topple over!
Or, how about this template of Maleficint’s Dragon’s head? Download the template here and follow the same first steps.
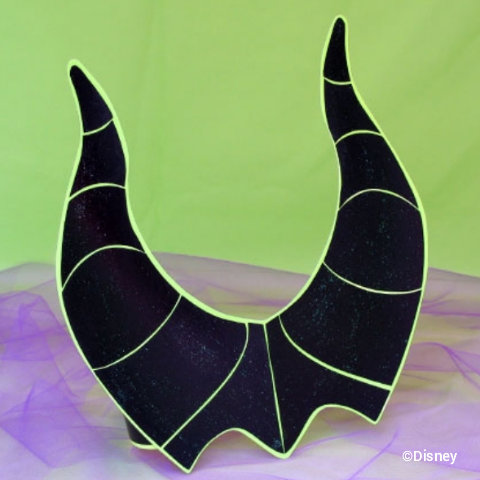
Malificent Horns
Speaking of Malificent, she calls herself the “Mistress of All Evil,” and indeed she is a force to be reckoned with. Clothed in a dark robe and a distinctive horned headdress, this green-skinned fairy can cast any number of evil spells as well as shape shift into a monstrous dragon. With this spiky poster board headband and a little face paint, so too can your trick-or-treater perform a stunning transformation – into Maleficent herself.
1. Download the template here and print it out. Place the sheet with the horn base atop a plain sheet of paper. Then cut out the horn, going through both layers of paper so that you end up with a pair of matching shapes.
2. Glue the two cutouts together.
3. Then use the full piece as a pattern for cutting the same shape out of neon yellow or green poster board.
4. Next, use the sectioned horn template to cut out two of each section from black cardstock.
5. Starting in the center of the poster board base and working your way to the tips, glue the sections in place atop each horn, spacing them slightly apart as shown. Brush a coat of glue sealer on both sides of the completed horns. Then, if your child opts for a sparkly effect, she can embellish them with glitter glue.
6. Next, make a headband by cutting a long 1½-inch-wide strip from poster board. Glue the horns to the center of the strip. Then overlap the ends of the headband and secure them with glue dots or staples to form a circle that fits around your child’s head.
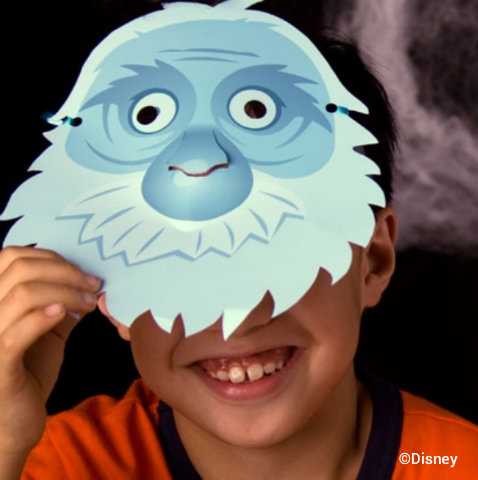
The Hitchhiking Ghosts
Don’t have a costume for the party? The Hitchhiking Ghosts are happy to let you use their faces for a small fee, and as always, the haunting’s free.
1. Download the templates for all three here.
2. Print out the masks on regular paper or cardstock and cut them out. Use a craft knife to cut along the dashed line around the nose and the two eye holes. Do not allow children to use the craft knife.
3. Punch holes on sides of head where indicated and thread string or ribbon through the holes to hold the mask in place.
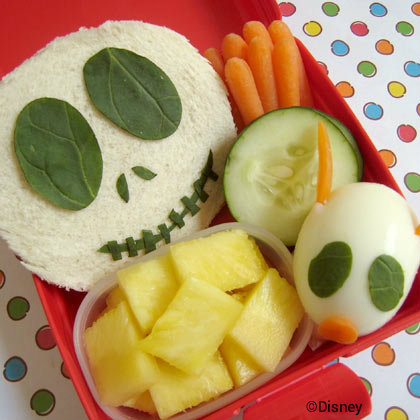
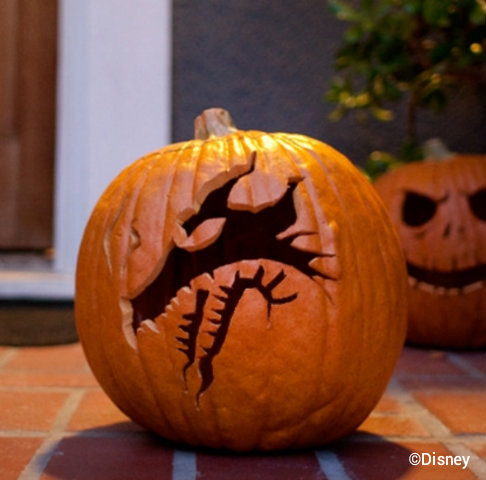
Jack Skellington Bento Box
1. Jack Skellington Sandwich: Cut both slices of bread into a circular shape (Jack’s face isn’t a perfect circle). Fill sandwich with favorite ingredients, the above sandwich is peppered turkey and cheddar.
2. To make Jack’s features, cut two larger ovals from two spinach leaves. Set aside.
3. Using a smaller oval cutter, cut the edge of one of the spinach leaves. Flip the cutter and re-cut the same piece of spinach to make an almond shaped nostril. Repeat for the second nostril.
4. For Jack’s smile, use kitchen shears to cut a smile shape from the edge of a spinach leaf.
5. To assemble, dip toothpick in cream cheese and use very small dots to adhere Jack’s features to the bread.
6. Using kitchen shears again, cut small sections of spinach leaves to finish Jack’s mouth. Dot with cream cheese and press in place.
7. Zero Boiled Egg: Slice egg in half lengthwise, save the other half to put in the bento box underneath Zero.
8. Using oval fondant cutter, cut two eyes for Zero. Attach to the egg, using cream cheese if necessary.
9. Slice end off of one carrot, then slice a single circle for Zero’s nose. Attach with a dab of cream cheese.
10. Slice/shave two strips from the sides of a carrot to make Zero’s ears. A thinner carrot works better for this. Cut a small point at one end.
11. Using the tip of a knife, pierce the side of the egg enough to insert one ear, then repeat on the other side.
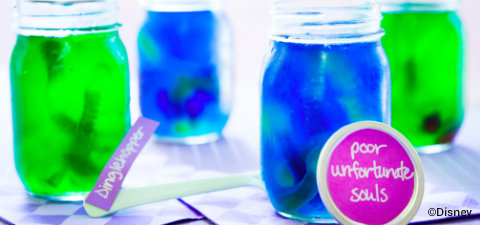
Little Yummy Jar of Souls
Poor unfortunate souls have no chance against Ursula, the spell casting, soul gathering sea witch. You and your Halloween party guests don’t need to take your chances in order to create your own (sweet) field of souls. Delight your guests with a personal jar filled with poor unfortunate gummy souls in seawater (colored gelatin). No spell casting required!
1. Wash, rinse and dry a small Mason jar. Tip: Straight-sided, wide-mouthed jelly jars work best, because they’re the easiest to fill and the easiest for the kids to empty.
2. Open boxes of green or blue gelatin dessert powder – or a mixture of both – and shake them into a heatproof mixing bowl or large measuring cup. A standard-size package of gelatin makes 2 cups of wobbly dessert, enough to fill two 1-cup jars or four ½-cup jars, so determine how many jars you’ll need ahead of time and purchase as many boxes as you need.
3. Pour 1 cup of boiling water for every box of gelatin into the bowl and stir it until the powder dissolves completely. Add an equal quantity of cold water and stir again. If you’re in a hurry, use 2 cups of ice in place of each cup of cold water. When the gel begins to thicken, after 5 or 6 minutes, remove any unmelted ice.
4. Fill each jar about 2/3 full with the gelatin and place it in a rectangular cake pan or other baking pan. When the jars are all filled, the pan makes it easier to transfer them to your fridge. You’ll have gelatin left over, at this stage. Set it aside in a warm place, because you need it later.
5. Refrigerate the jars of gelatin for roughly 20 minutes, until the dessert begins to set but is still quite soft. If you used the ice-cube technique, cut that time in half.
6. Cut the gummy worms into varying lengths with a knife or clean scissors while the gelatin begins to set. This is optional, but gives the worms – for lack of a better term – a more “lifelike” appearance. The movie’s poor unfortunate souls moved around and reacted to Ursula’s threatening song, and the gummies look more real at varying heights in the jar.
7. Remove the pan of Mason jars from your refrigerator, and slide several gummy “souls” into each jar. The gelatin should be thick enough to hold them upright, but not set enough to make it difficult for you to slide them in.
8. Soften your leftover gelatin by melting it in your microwave or over a pot of boiling water. Divide it evenly between the jars to make a smooth, even surface and conceal any fingermarks.
9. Return the jars to your refrigerator until they set completely. Keep them cold until party time.
10. Let guests know just what kind of treat this is with a custom label for each Mason lid. Trace the tops of your lids on purple or blue construction paper and write “Poor Unfortunate Souls” on each circle with a marker or silver paint pen. Cut out the labels and tape one to the top of each lid.
11. Offer each guest their very own themed utensil to gobble up those yummy ‘souls.’ Cut out a simple tag made of construction or Kraft paper, with the words ‘Dinglehopper’ written in silver paint pen, and tape it to a spork or fork. Make sure you make enough for every jar. Write the name of each guest on the back of the label so it becomes a favor at the end of the party.
![]()


Trending Now
Don't miss out on these super low prices on Amazon for a bunch of cool...
Fireworks are an iconic way to end your Disney World day! But as sunset gets...
A Disney World Passholder event is returning soon!
Universal just posted a sneak peek at NEW Epic Universe rides!
See what a Disney EXPERT does when a ride is CLOSED!
We use these seven cheats at Disney World's EPCOT all the time.
Two rides have announced months-long closures at Universal Studios Orlando!
If you're planning to visit Magic Kingdom during Halloween season this year, we have one...
The legendary music event, previously exclusive to IMAX, is having its global streaming premiere on...
You'll need to know about this date in Disney World!
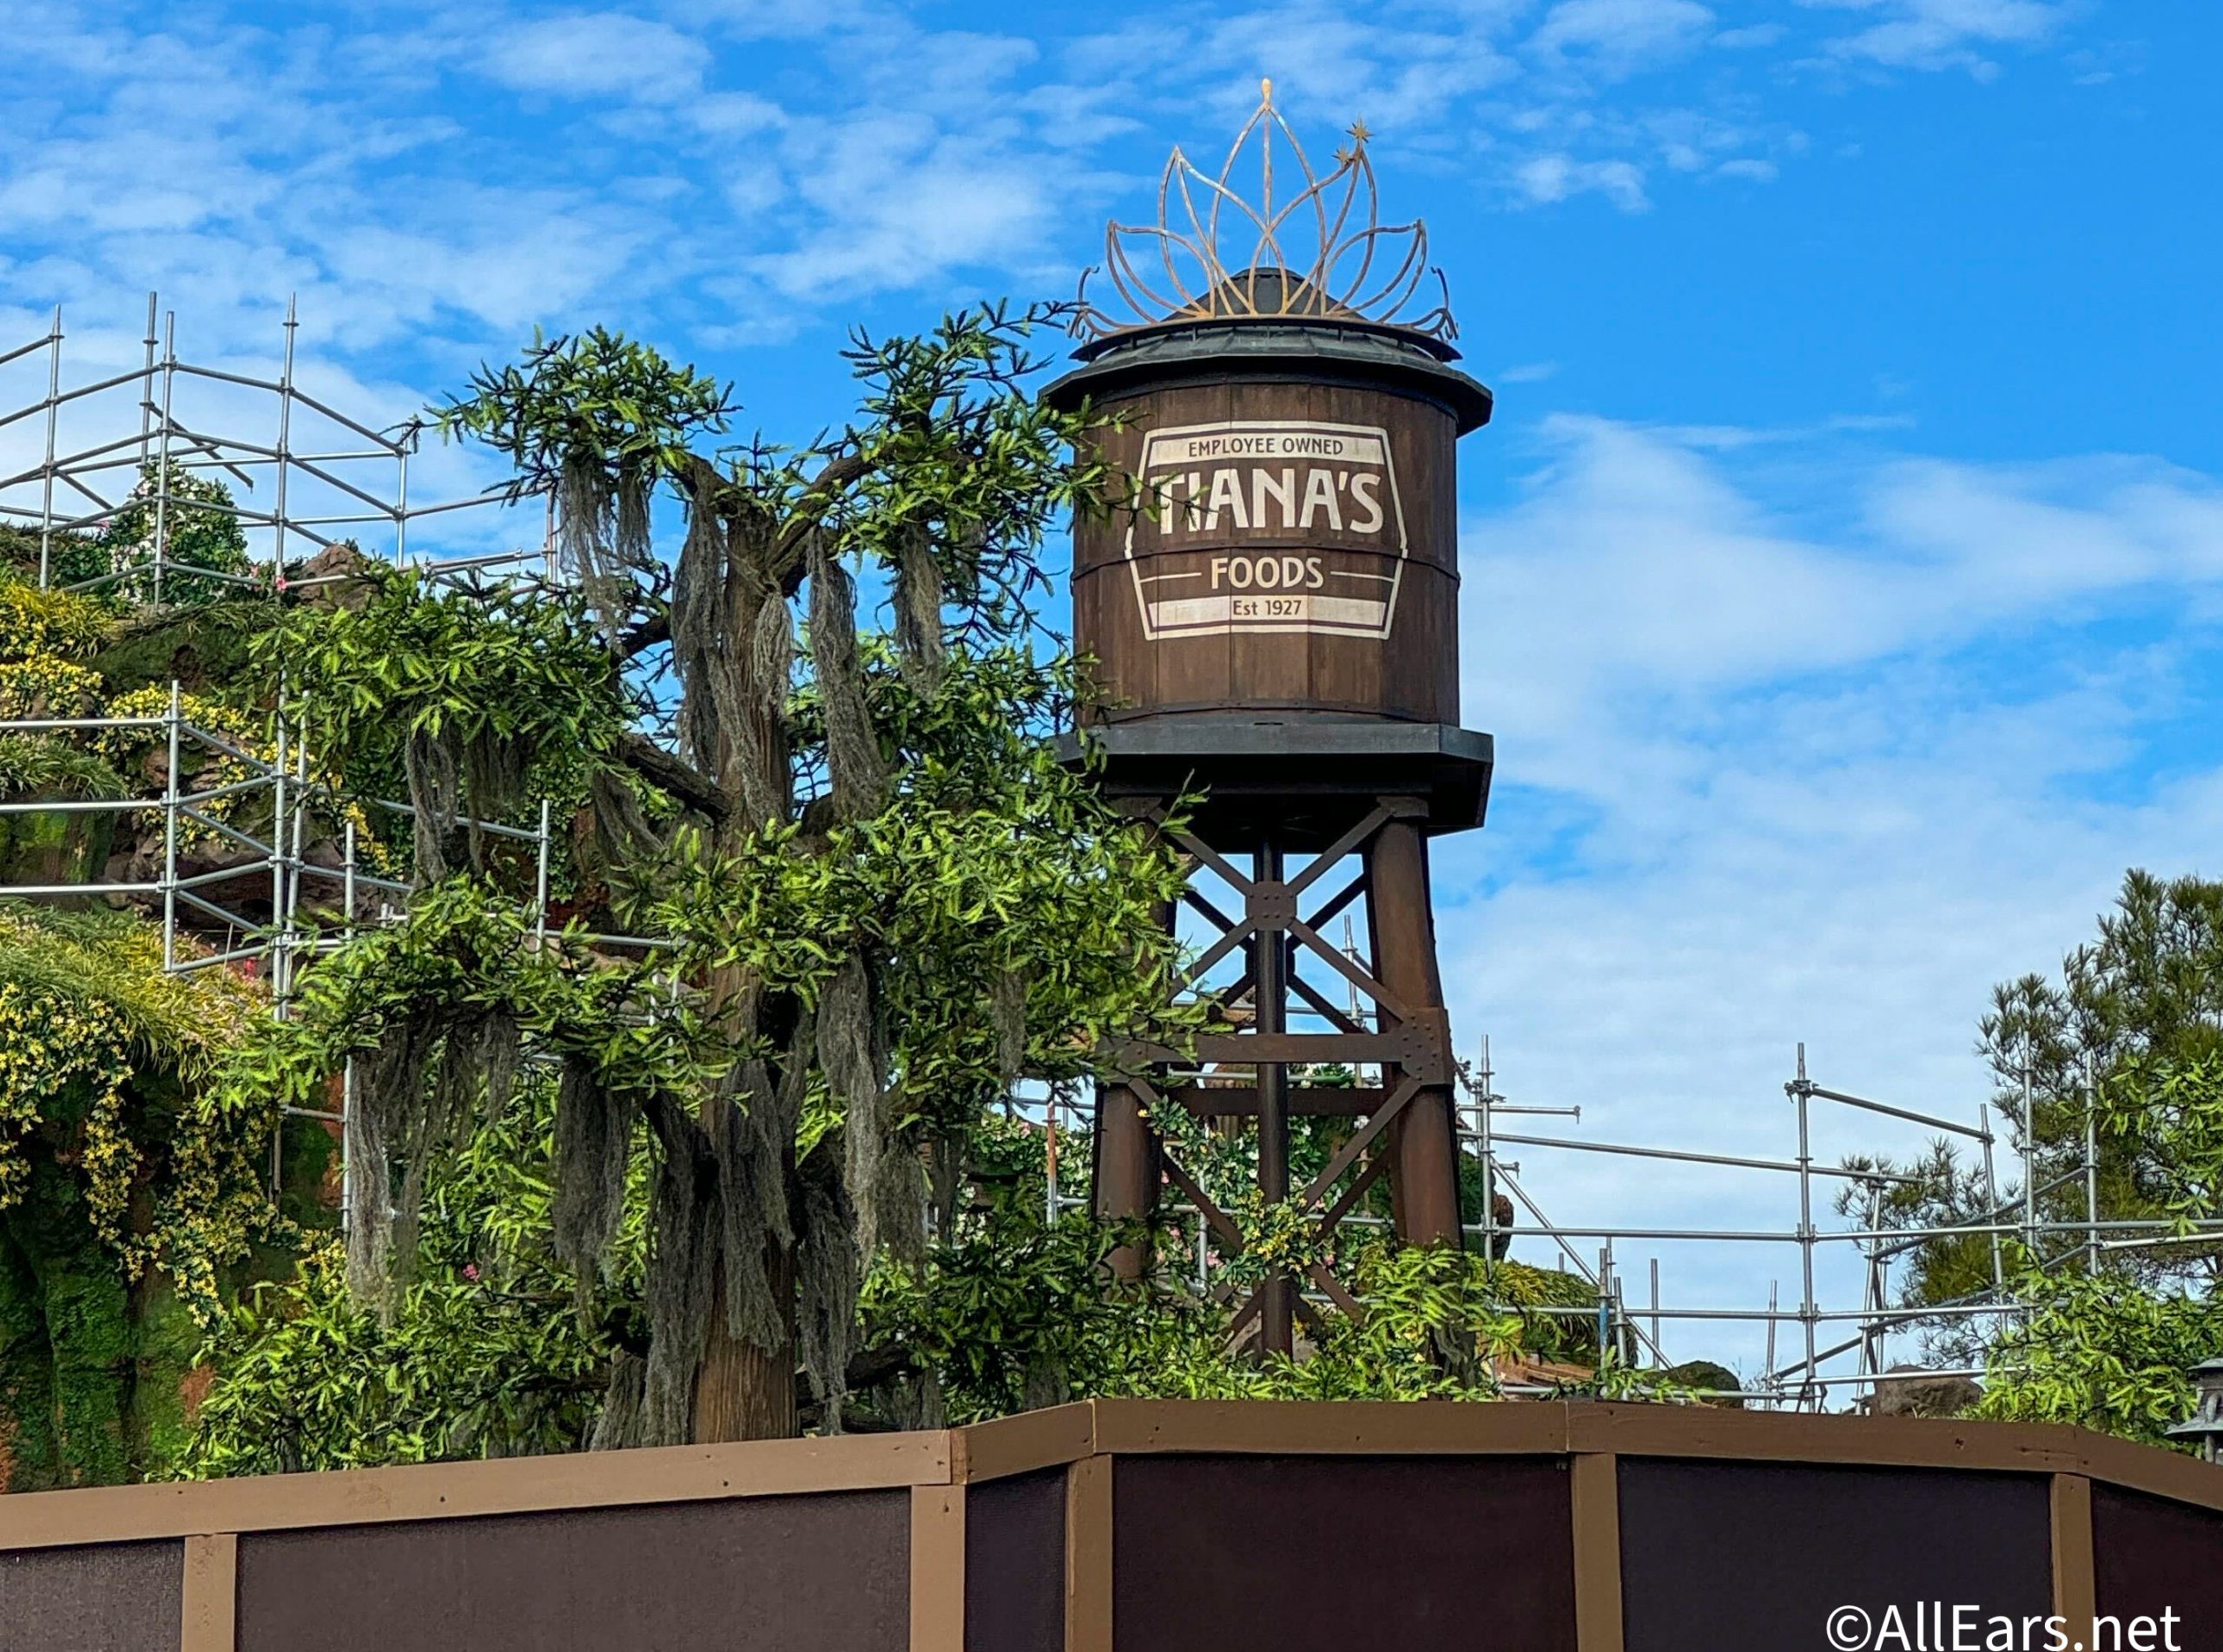
Do we have a hint as to when Tiana's Bayou Adventure will open?
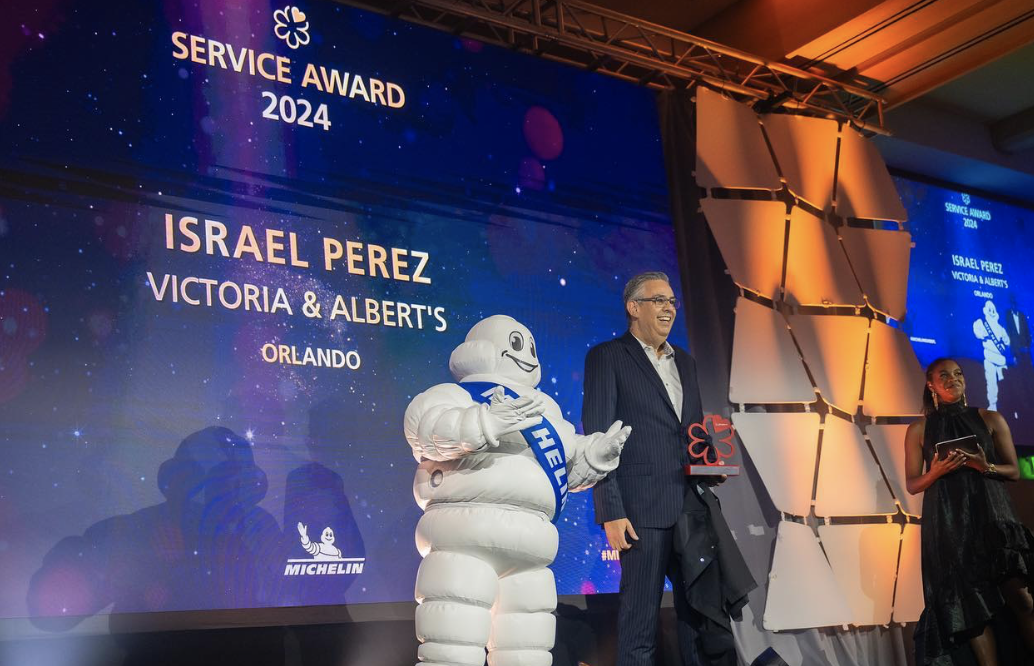
Victoria & Albert's at Disney World just received a MICHELIN Star!
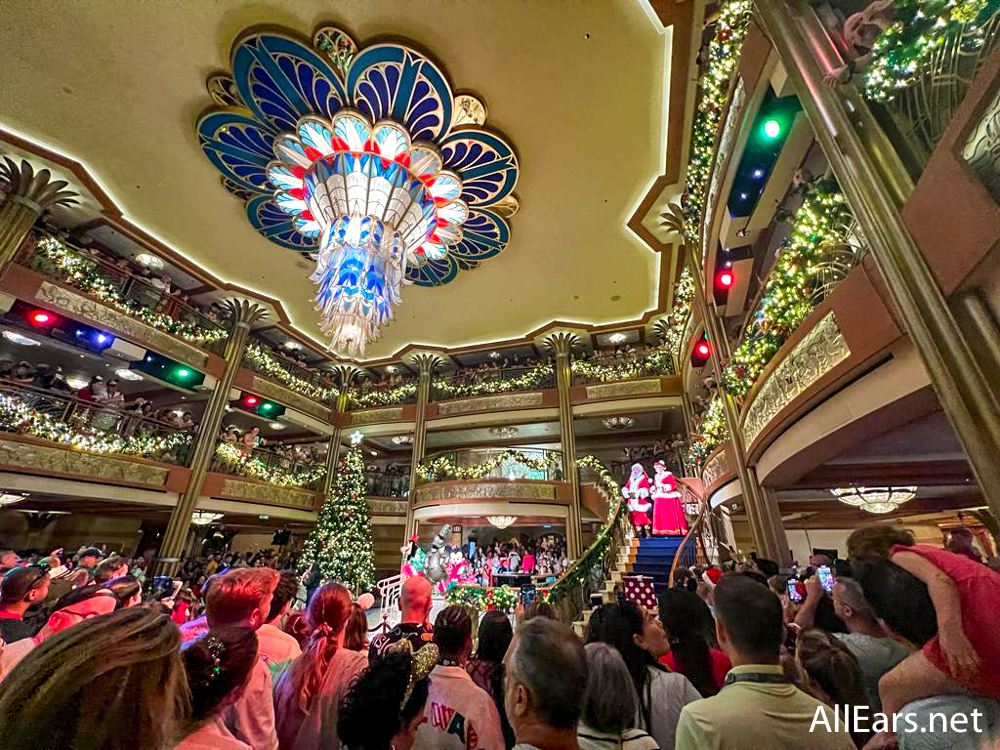
Going on a Disney Cruise soon? Here are some essentials you won't realize you need...
With the EPCOT International Food and Wine Festival right around the corner, make sure you...
This once-canceled TV show just got renewed for an eighth season.
There's a new collection of Disney merch online right now!
This is the BEST Disney World hotel according to our readers, and you can't convince...
These four airlines have stopped their direct routes to Orlando.
People are STILL making these same Disney World mistakes.
Here are all the attraction closures you need to be aware of in Disney World...